
Import passwords into the Microsoft Authenticator app
Microsoft Authenticator supports importing passwords from Google, Firefox, Apple iCloud, 1Password, Dashlane, NordPass, LastPass, Bitwarden, and RoboForm.
Tip: You can also import your passwords into the Microsoft Autofill Google Chrome extension, and they will sync to any device you're signed into Microsoft Authenticator on. See below for steps.
Step 1 - Export your passwords from your current password manager
Select your existing password manager from the headings below for the steps to export your passwords. If we don't currently support your existing password manager, select the steps to export using a comma-separated values (CSV) file.
Click the headings below for more information
Google Chrome users on Android can import their passwords directly from their phone with few simple steps.
-
Sign into the Google Chrome browser on your phone.
-
Tap the

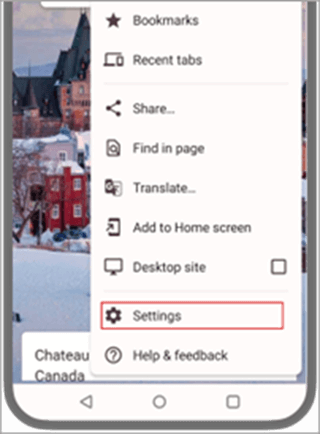
-
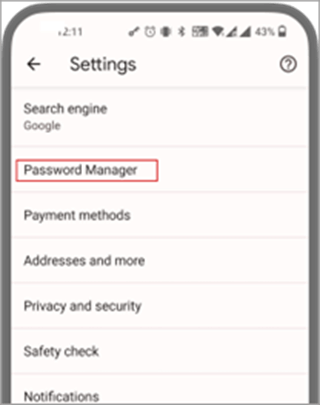
In Settings, select Password Manager.
-
Tap the

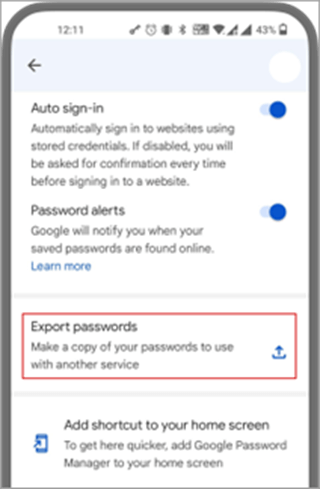
-
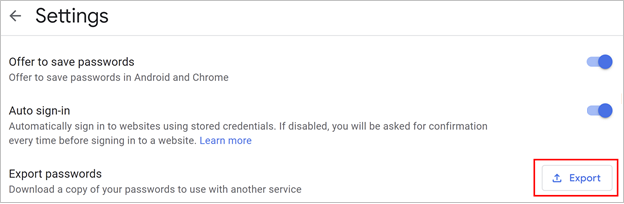
Confirm your identity using your PIN, fingerprint, or facial recognition, then tap Export to start exporting.
-
The passwords will be downloaded to your device's default download location as a file called "Google Passwords.CSV."
When it's done, continue to step 2, importing your passwords.
Google Chrome users on Apple phones can import their passwords directly from their phone with few simple steps.
-
Sign in to the Google Chrome browser on your phone.
-
Tap the
-
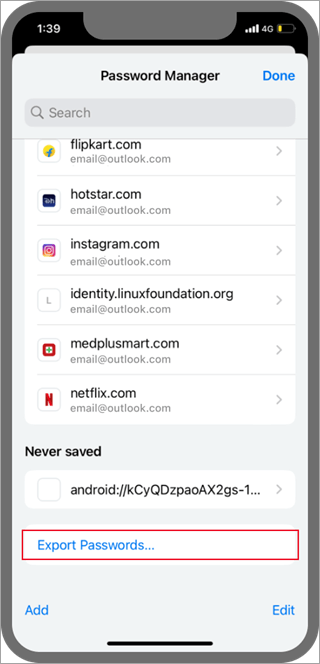
Tap Password Manager.

-
Scroll to the bottom, then tap Export passwords.
-
Confirm your identity using your PIN, fingerprint, or facial recognition to start exporting.
When it's done, continue to step 2, importing your passwords.
Before you begin, you must install and sign into the Microsoft Autofill extension on your Chrome browser.
-
In any browser, sign into your Google account and open Google Password Manager.
-
Select the gear icon

-
Select Export, then on the next page select Export again to start exporting your passwords. Provide your Google password when prompted to confirm your identity. Chrome will let you know when it’s done.
When it's done, continue to step 2, importing your passwords.
Important: Firefox only allows exporting passwords from the desktop browser, so you'll need to have the Firefox desktop browser to do this.
-
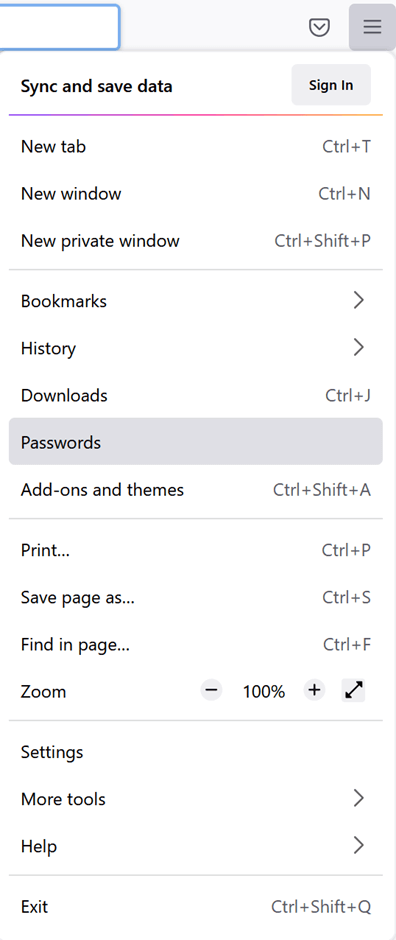
Sign into the latest version of Firefox on your desktop and select the menu button

-
Select Passwords.
-
From the Firefox logins page, select the

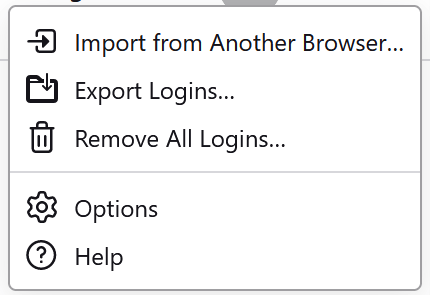
-
Confirm your identify by entering your PIN, device password or by scanning your fingerprints. Once successfully identified, Firefox exports your passwords in CSV format to the selected location.
When it's done, continue to step 2, importing your passwords.
Important: LastPass only allows exporting passwords from a desktop browser.
-
Sign in to the LastPass web site and select Advanced Options, and then select Export.
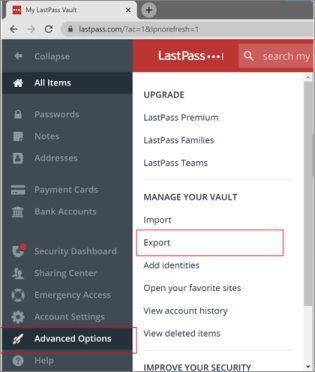
-
Confirm your identity with your LastPass master password.
-
The CSV file will be saved to your computer.
When it's done, continue to step 2, importing your passwords.
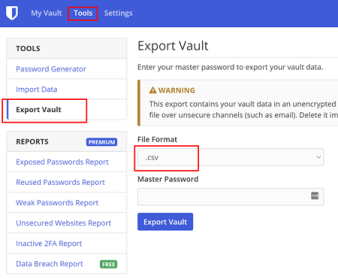
Important: Bitwarden only supports exporting passwords from a desktop browser.
-
Sign in into Bitwarden and select Tools > Export vault.
-
Choose CSV as the file format.
-
Provide your Bitwarden master password, and then select Export vault to start exporting.
When it's done, continue to step 2, importing your passwords.
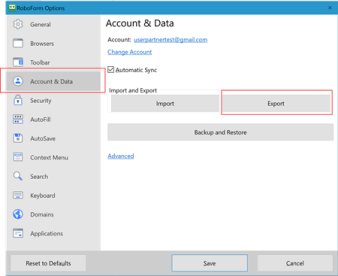
Important: RoboForm only allows exporting passwords from its Windows or Mac app.
-
Start RoboForm from your computer and sign into your account.
-
Select Options from the RoboForm menu.

-
Select Account & Data > Export.
-
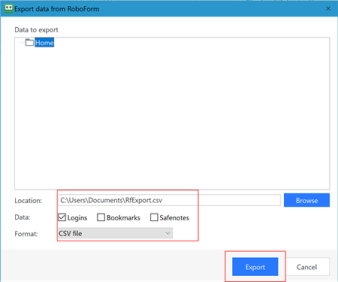
Choose a safe location to save your exported file. Select Logins as the Data type and select the CSV file as the format, and then select Export.
-
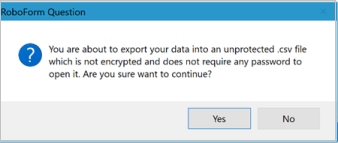
Select Yes on the confirmation message and the CSV file will be saved to the selected location.
When it's done, continue to step 2, importing your passwords.
Important: Dashlane only supports exporting passwords from a desktop browser.
-
Sign into Dashlane and at the top right, select the My account menu.
-
Select Settings.
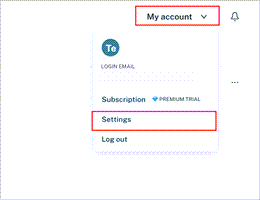
-
Select Export data and confirm your identity by using your Dashlane master password.
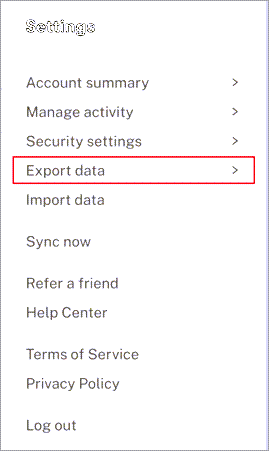
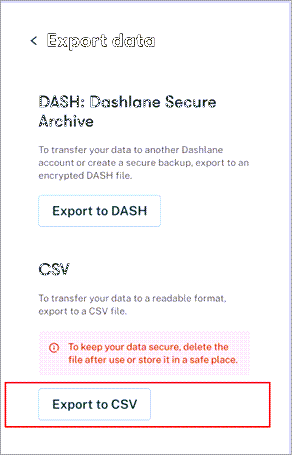
-
Select Export to CSV. Dashlane will save a zip file containing the CSV to your default download location.
When it's done, continue to step 2, importing your passwords.
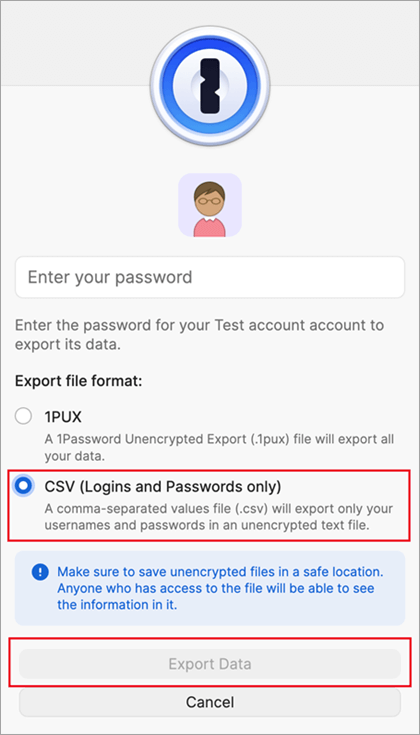
Important: 1Password only allows exporting passwords from its desktop (Windows/Mac/Linux) app.
-
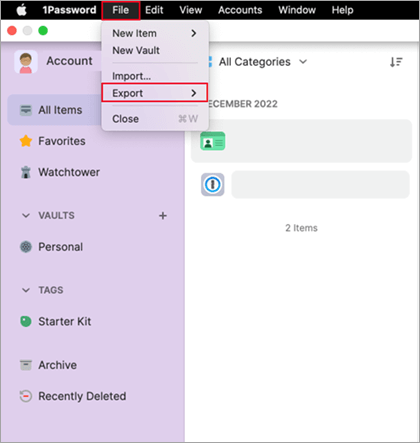
Open the 1Password app on your computer and sign into your account.
-
Select File, choose Export, and select the account you want to export your data from.
-
Confirm your identity by using your 1Password account password.
-
Choose CSV as the export file format and click Export Data.
-
Choose where you want to save your 1Password data and select Open.
When it's done, continue to step 2, importing your passwords.
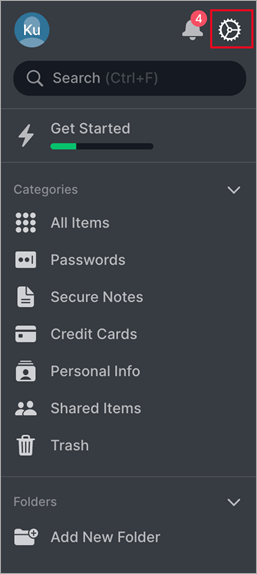
Important: NordPass only supports exporting passwords from a desktop browser.
-
Sign into NordPass and select Settings.
-
Select Export Items and confirm your identity by using your NordPass master password.
-
Save the CSV on your computer.
When it's done, continue to step 2, importing your passwords.
-
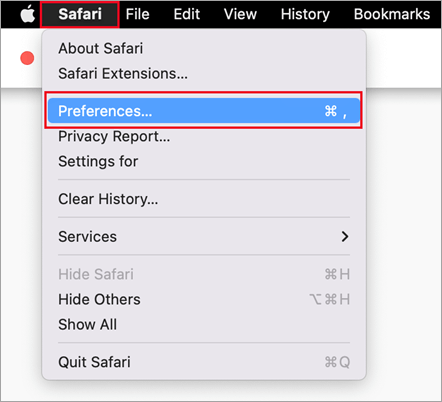
Open the Safari browser, click Safari, and open Preferences.
-
Select the Passwords tab and confirm your identity by entering your PIN, device password, fingerprints, or facial recognition.
-
Click the three dots icon and click Export Passwords.

-
Save the CSV file to your computer.
When it's done, continue to step 2, importing your passwords.
If steps to import passwords from your password manager aren't listed in this article, you can create a CSV that you can use to import your passwords into Authenticator. Microsoft recommends that you follow these steps on a desktop for ease of formatting.
-
On your desktop, download and open our import template. If you are an Apple iPhone, Safari, and Keychain user, you can now skip to step 4.
-
Export your passwords from your existing password manager in a nonencrypted CSV file.
-
Copy the relevant columns from your exported CSV to the template CSV and then save.
-
If you don’t have an exported CSV, you can copy each login from your existing password manager to the template CSV. Don’t remove or change the header row. When you finish, verify the integrity of your data before you send the data to Authenticator on your iOS or Android phone, or to the Microsoft Autofill Chrome Extension.
Step 2 - Import your passwords to Microsoft Authenticator or Microsoft Autofill Chrome extension.
Tip: The Microsoft Autofill Chrome extension automatically syncs with the Microsoft Authenticator app. If you import your passwords to the Chrome extension, they'll automatically be available on any mobile devices you're signed into Microsoft Authenticator on.
Click the headings below for more information.
-
Transfer the exported CSV file from step 1 to your Android or iOS phone using a secure method, such as OneDrive.
-
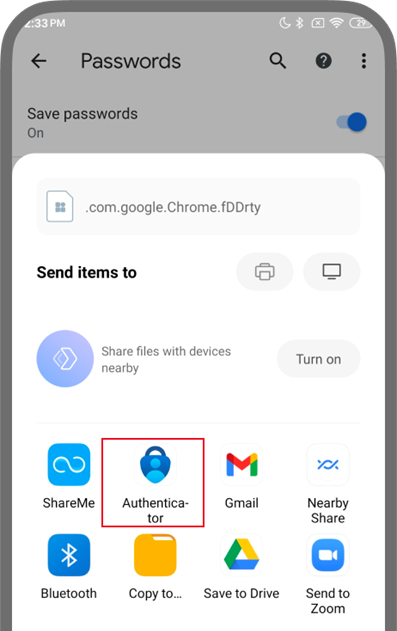
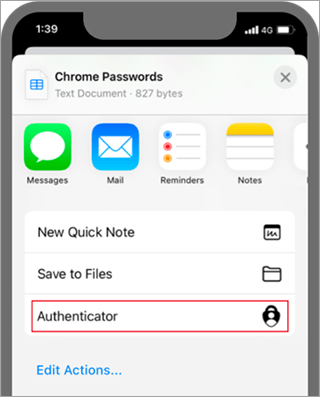
Share the CSV file with Authenticator app to start the import.
Android
iOS
Important: After successfully importing your passwords delete the CSV file from your desktop or mobile phone.
-
Install the Microsoft Autofill Chrome extension from the Microsoft store. If you already have it you can skip to step 2.
-
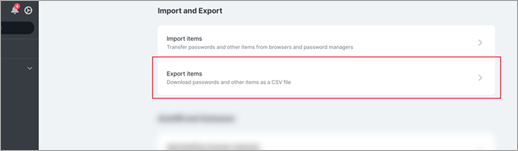
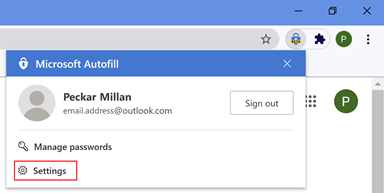
Open the Autofill Chrome extension and select Settings.
-
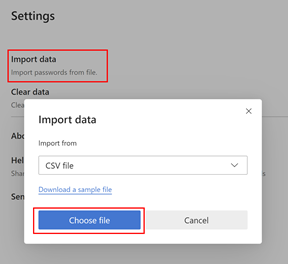
Select Import data to open a dialog. Then, select Choose File to locate and import the CSV file.
Important: After successfully importing your passwords delete the CSV file from your desktop or mobile phone.
Troubleshooting steps
The most common cause of failed imports is incorrect formatting in the CSV file. One of the following steps could help you troubleshoot the issue.
-
Retry step 1. Hopefully whatever caused the bad formatting was a temporary issue.
-
If we don’t currently support importing the format of your password manager, you could try creating your CSV file manually using the steps in Export by creating a CSV, above.
-
To verify the integrity of CSV data, ensure that the first row contains a header with three columns: URL, username, and password, and ensure that each row contains a value in the URL and password columns.
-
You can recreate the CSV by pasting your content in the CSV template file.
If nothing else works, please report your issue using the Send Feedback link from Authenticator app settings.
Learn more
How to use the Microsoft Authenticator app


Need more help?
Want more options?
Explore subscription benefits, browse training courses, learn how to secure your device, and more.


Communities help you ask and answer questions, give feedback, and hear from experts with rich knowledge.


