
Publicize a webinar in Microsoft Teams
Build excitement and gather an audience for your webinar by publishing the details and registration site. Once you publish the webinar, emails will be sent to potential attendees automatically.
You may want to publicize the event through social media, websites, email, and chats. The link becomes active after you send out the meeting invite.
Publish a webinar
Once you've filled out the webinar details and registration form, publish it to make it discoverable by potential attendees.
To publish the event:
-
Create or find the event on your Teams calendar.
-
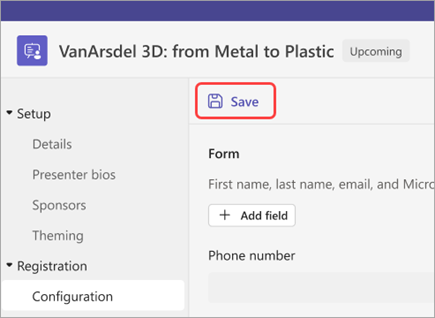
If you're creating the event, enter webinar details and select Save before continuing.
-
-
Enter other webinar details such as customization and registration.
-
Select View draft to see how the event page will look to potential attendees, then select Publish site and confirm.

Copy the registration link
After you publish the webinar, you can gather an audience by sharing the link to the live site that attendees will see when they register.
To copy the registration link:
-
Go to your Teams calendar and select the webinar you want to share.
-
Select Copy registration link near the top of the page.
Note: You can also copy the link from the registration form.
-
Paste the link into your announcements and messages.
What's next?


Need more help?
Want more options?
Explore subscription benefits, browse training courses, learn how to secure your device, and more.


Communities help you ask and answer questions, give feedback, and hear from experts with rich knowledge.


