
This article is for people with visual or cognitive impairments who use a screen reader program such as Windows Narrator and NVDA with Microsoft 365 products. This article is part of the Microsoft 365 screen reader support content set where you can find more accessibility information on our apps. For general help, visit Microsoft Support.
Use Copilot in Microsoft Whiteboard in Windows with your keyboard and a screen reader. You can also use Copilot in Whiteboard in a scheduled meeting or as a tab for a chat or channel. You can use Copilot in Whiteboard to suggest, categorize, and summarize content.
Notes:
-
To learn more about Copilot in Whiteboard, go to Copilot in Whiteboard.
-
New Microsoft 365 features are released gradually to Microsoft 365 subscribers, so your app might not have these features yet. To learn how you can get new features faster, join the Office Insider program.
-
To learn more about screen readers, go to How screen readers work with Microsoft 365.
In this topic
Navigate Copilot in Whiteboard
Suggest content with Copilot in Whiteboard
Navigate Copilot in Whiteboard
-
To open the app, press the Windows logo key and type Microsoft Whiteboard.
-
Navigate using Tab and press Enter when you hear “Whiteboard gallery, create new whiteboard button, create and open a new whiteboard.”
-
To open an existing Whiteboard, navigate using the Left/Right arrow keys then press Enter when you hear “your whiteboard name, whiteboard.”
-
Navigate using Tab until you hear “Copilot menu item collapsed, has pop-up.”
-
To navigate all the features, press Enter and then the Up/Down arrow keys.
Notes:
-
In case your whiteboard is already set up, go to the whiteboard gallery, and use the Left and Right arrow keys until you hear the message, "Whiteboard gallery, your whiteboard name."
-
To learn about navigating Microsoft Whiteboard in Teams, refer to Use a screen reader with the Whiteboard app in Microsoft Teams.
Suggest Content with Copilot in Whiteboard
You can use Copilot in Whiteboard to provide suggestions and create required content.
-
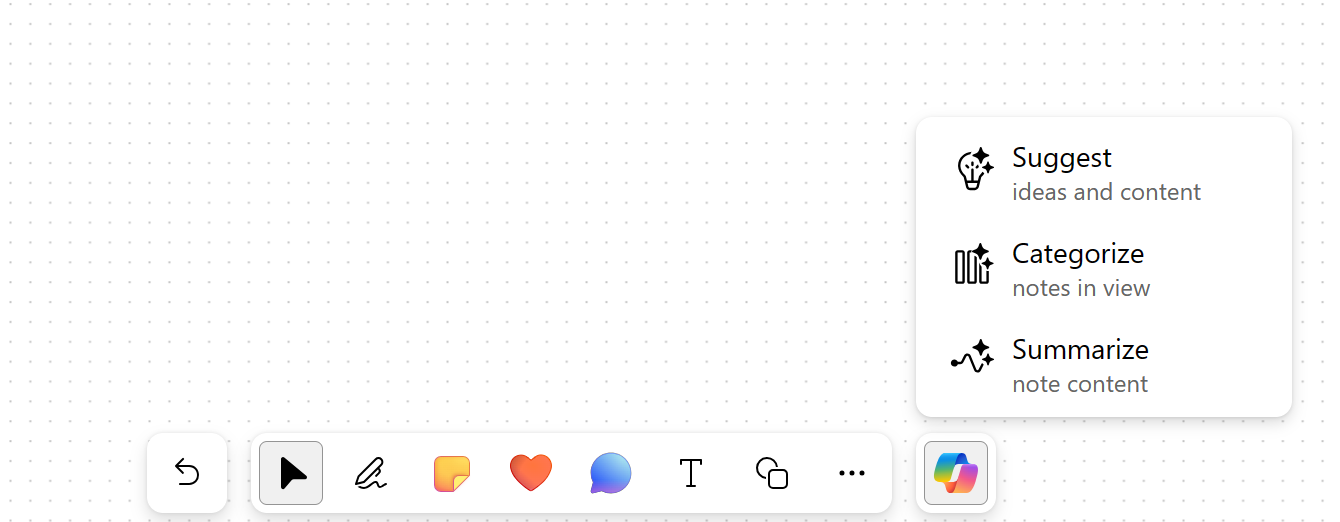
Press Up/Down arrow keys to navigate all the features, press Enter when you hear “Suggest ideas and content menu item, 1 of 3.” Copilot opens the Suggest prompt window.
-
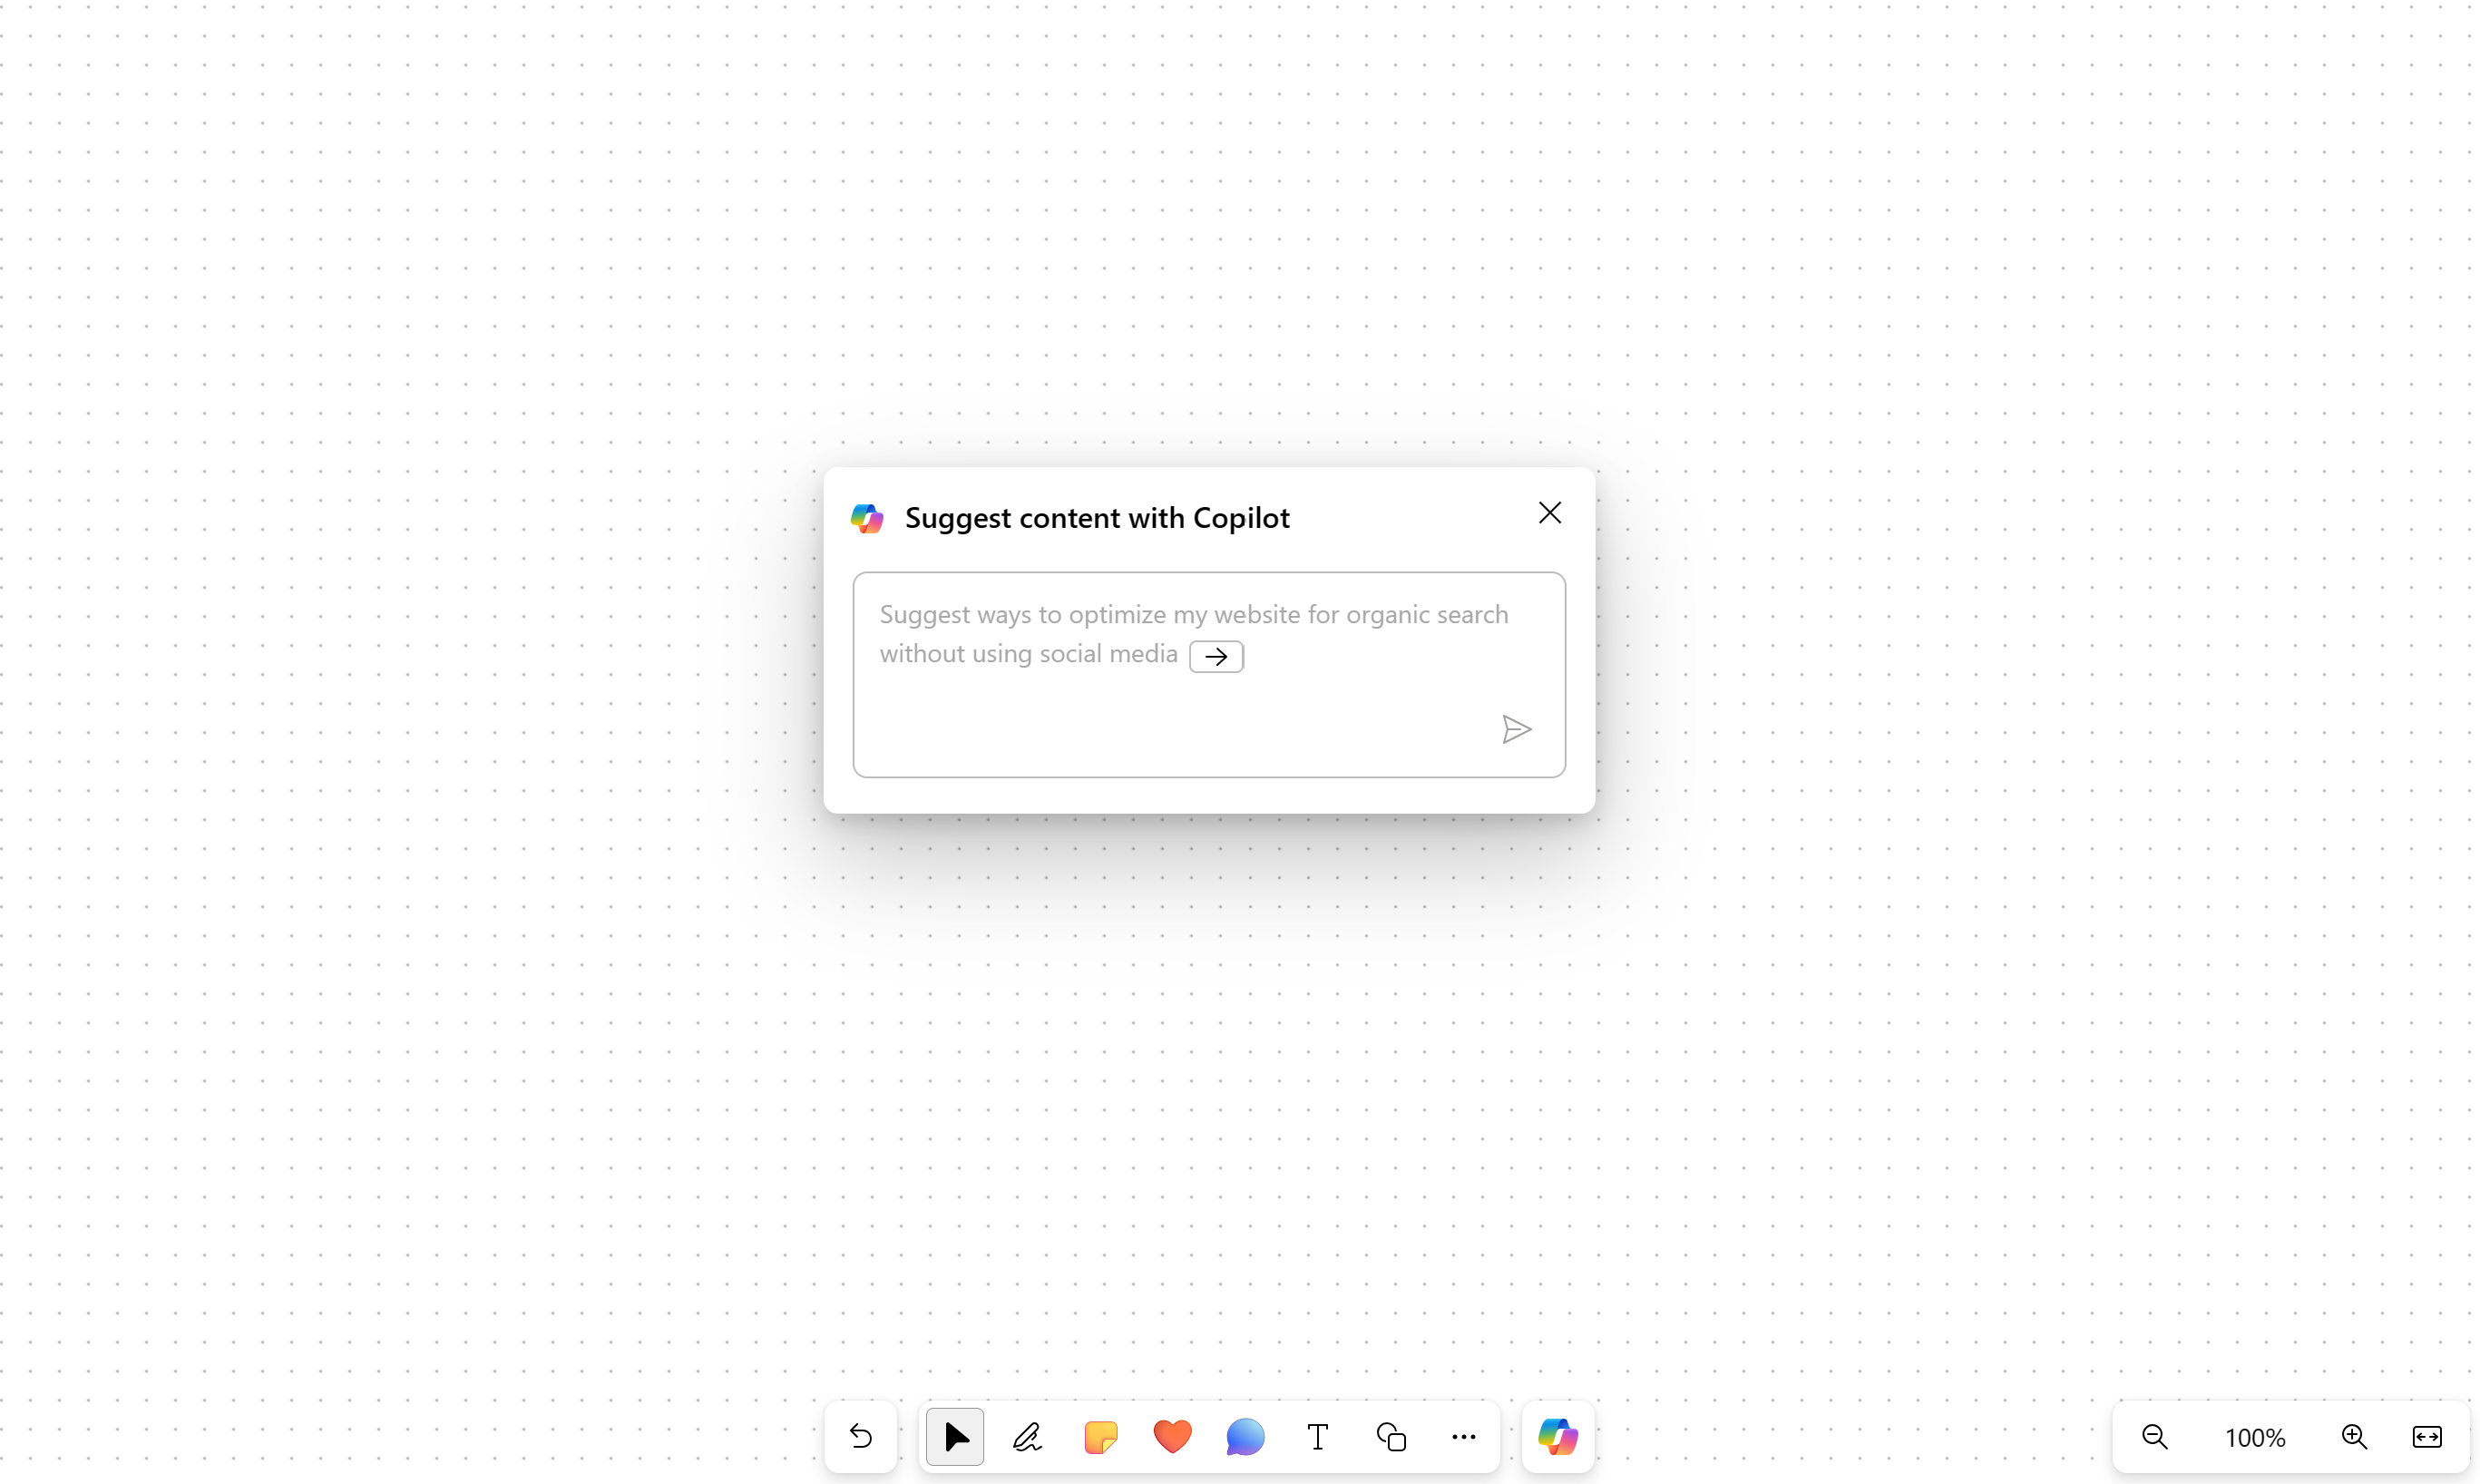
You can enter your own prompt or press Right arrow key to enter to autocomplete the pre suggested prompt, “Suggest ways to optimize my website for organic search without using social media.”
-
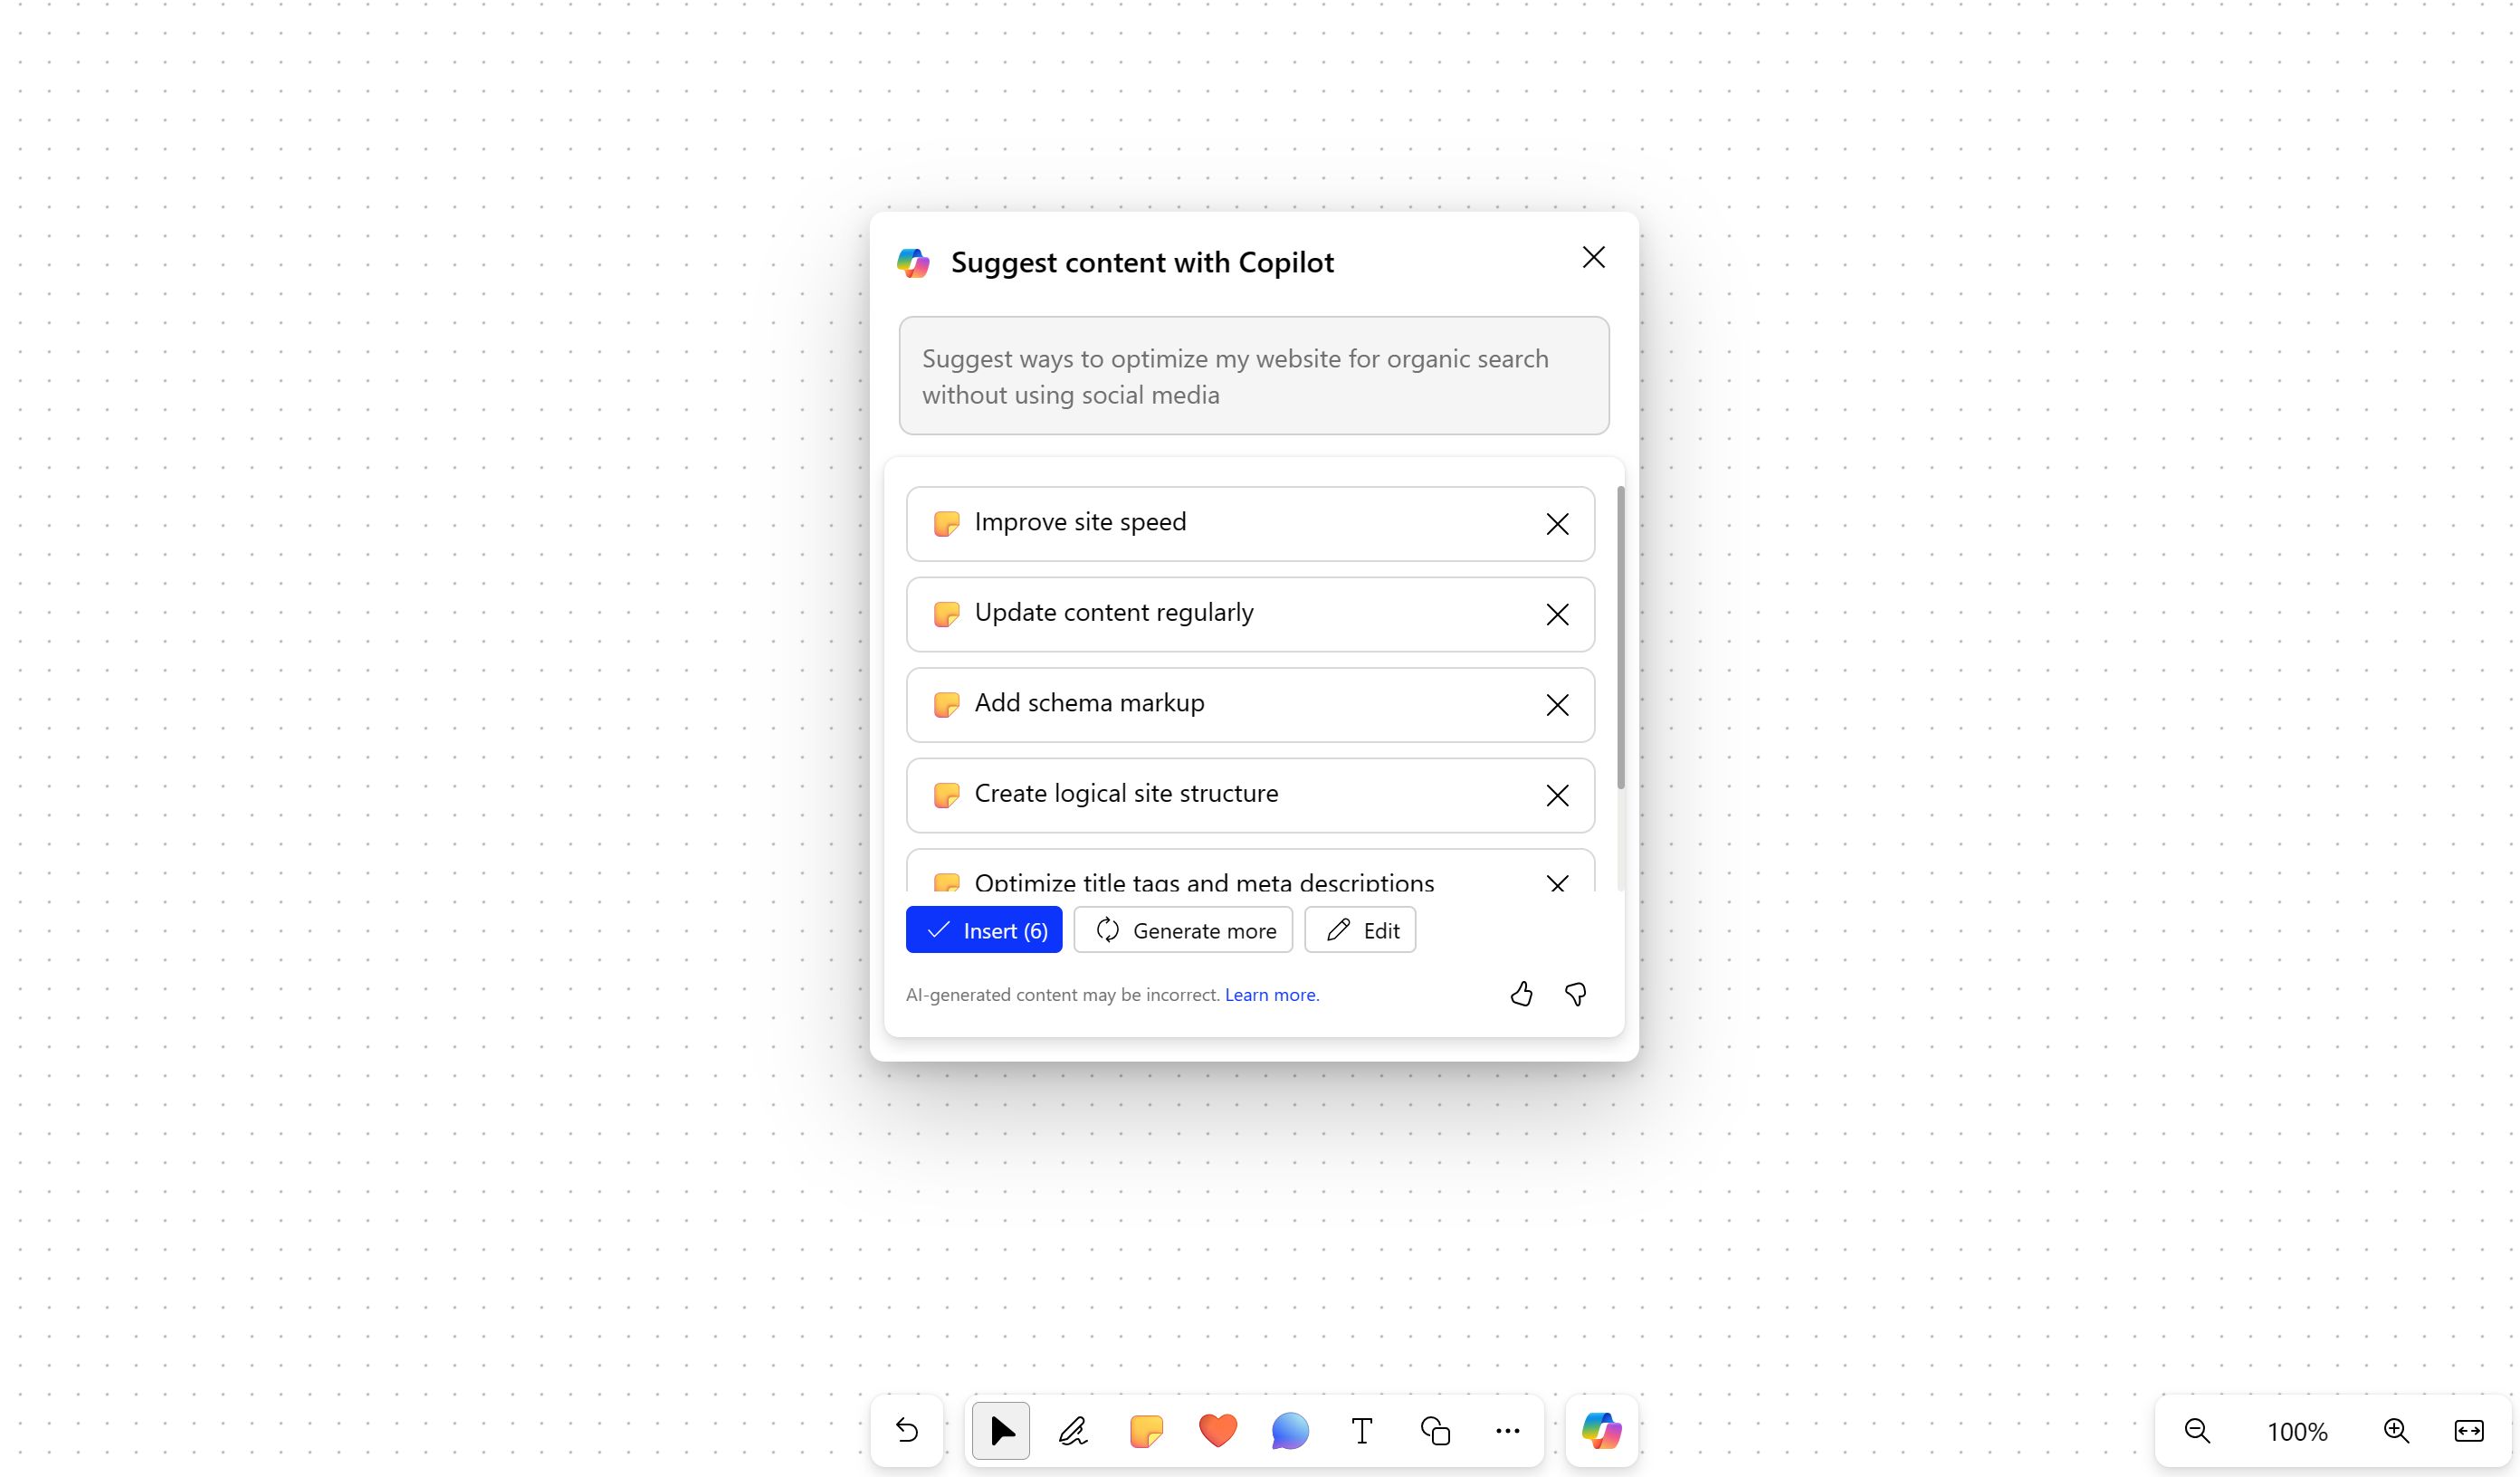
Press Enter after entering in a prompt; Copilot creates a list of 6 suggestions.
-
Use Tab and Enter keys to insert, edit, or generate more content.
-
You can send your feedback on the results by navigating to the like and Dislike buttons.
-
Use Up/Down arrow keys to navigate through the content.
-
To delete any suggestions from the list, navigate until you hear “Delete suggestion button” then press Enter.
Notes:
-
In RTL languages, you can use the Left arrow key to autocomplete the pre suggested prompt.
-
For more information, refer to Discover new ideas in Whiteboard with Copilot for Microsoft 365.
Categorize content with Copilot in Whiteboard
Categorize your Whiteboard content with the help of categorize feature in Copilot. You can select at least two sticky notes with content and access categorize in the multi-selection menu for the notes.
-
The categorize feature is disabled in the menu on new Whiteboard or any Whiteboard that does not contain at least two sticky notes that contain content.
-
Open Copilot and navigate using Up/Down arrow keys, then press Enter when you hear “Categorize notes in view, menu item, 2 of 3.”

-
Copilot automatically selects all the sticky notes in view on the whiteboard.
-
Press Enter when you hear “Categorize selected notes, Categorize button.”
-
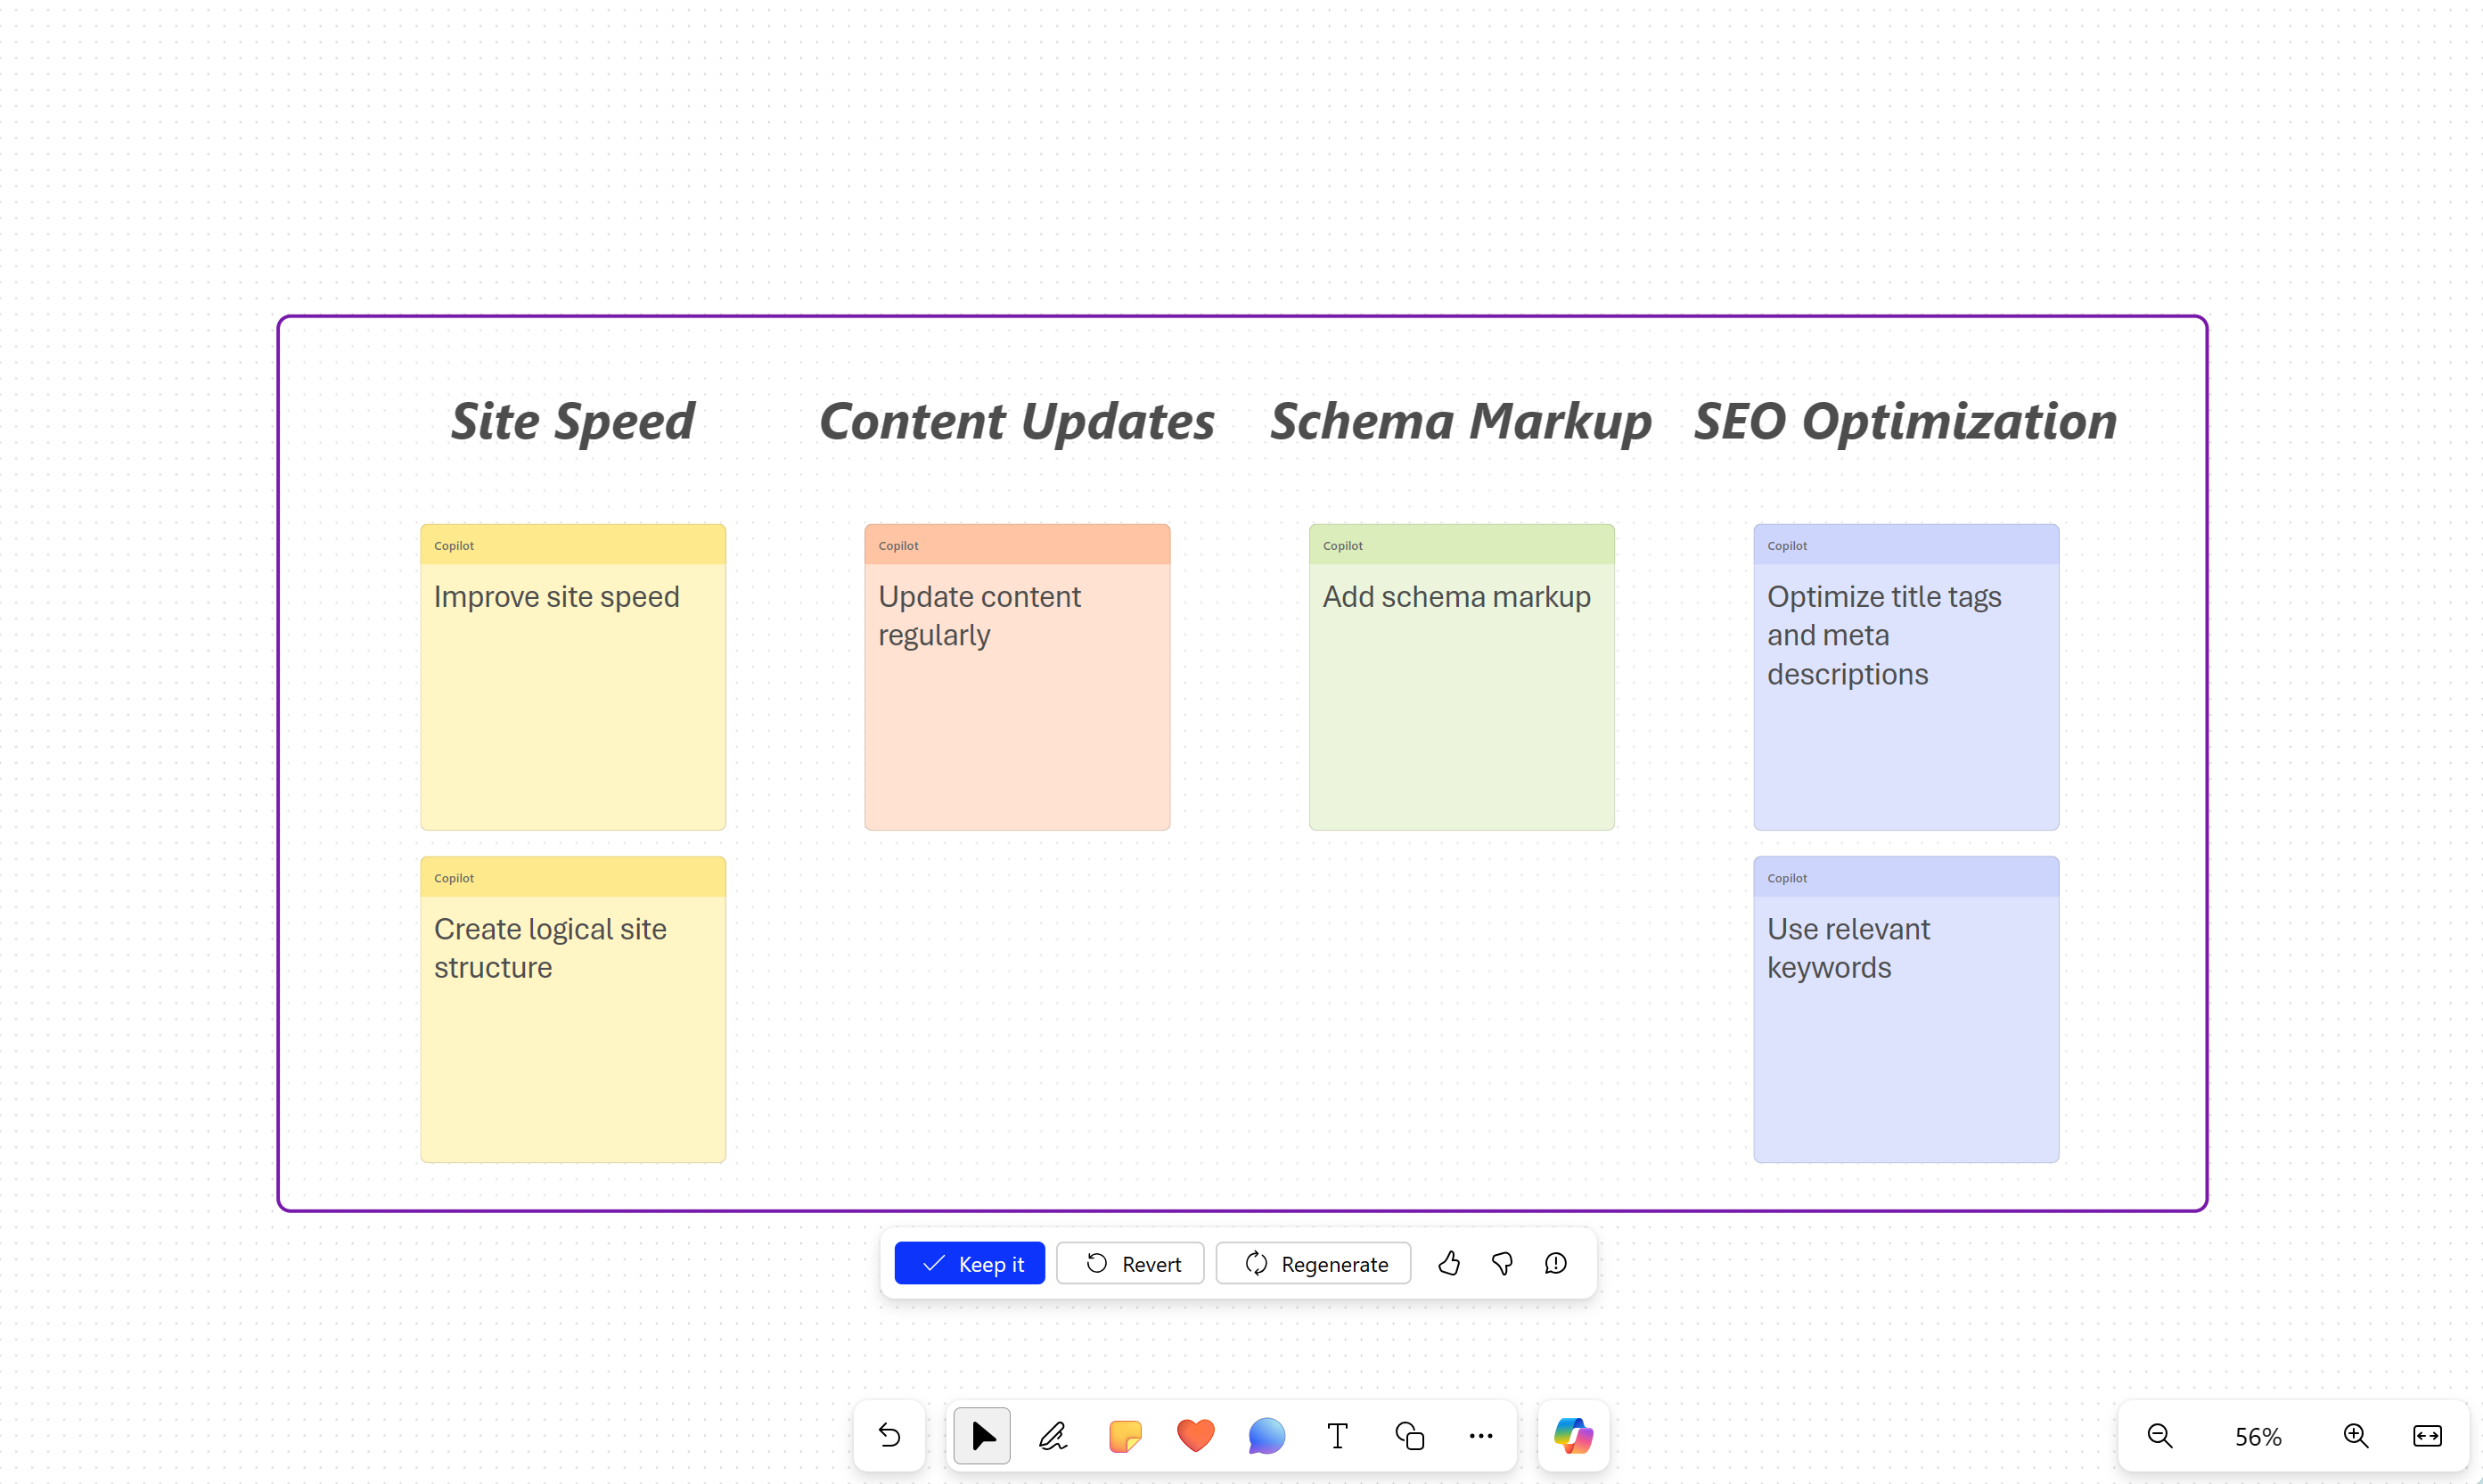
Copilot organizes all the ideas into categories with headers.
-
Use Tab and Enter keys to keep, revert, and regenerate the categorized content.
-
You can send your feedback on the results by navigating to the like and Dislike buttons.
Note: To learn more, go to Organize your ideas in Whiteboard with Copilot for Microsoft 365.
Summarize content with Copilot in Whiteboard
You can also Summarize your Whiteboard content in simple steps using Copilot.
-
Navigate copilot using Up/Down arrow keys until you hear “Summarize note Content menu item, 3 of 3.”
-
Press Enter to summarize the Whiteboard’s content. Copilot creates a Loop component with a bullet point summary.

-
To keep the summarized content in your whiteboard, navigate using Tab key and press Enter when you hear “Keep it, button”.
-
You can send your feedback on the results by navigating to the like and Dislike buttons.
-
To discard the generated content, press Enter when you hear “Discard, button.”
Note: To learn more, go to Summarize ideas in Whiteboard with Copilot for Microsoft 365.
Use Copilot in Microsoft Whiteboard on any Web browser with your keyboard and a screen reader. You can also use Copilot in Whiteboard in a scheduled meeting or as a tab for a chat or channel. We have tested it with Narrator in Microsoft Edge and NVDA in Chrome, but it might work with all screen readers and web browsers as long as they follow common accessibility standards and techniques. You can use Copilot in Whiteboard to suggest, categorize, and summarize content.
Notes:
-
To learn more about Copilot in Whiteboard, go to Copilot in Whiteboard.
-
New Microsoft 365 features are released gradually to Microsoft 365 subscribers, so your app might not have these features yet. To learn how you can get new features faster, join the Office Insider program.
-
To learn more about screen readers, go to How screen readers work with Microsoft 365.
-
When you use Whiteboard for the web, we recommend that you use Microsoft Edge as your web browser. Because Whiteboard for the web runs in your web browser, the keyboard shortcuts are different from those in the desktop program. For example, common shortcuts like F1 (Help) and Ctrl+O (Open) apply to the web browser – not Whiteboard for the web.
In this topic
Navigate Copilot in Whiteboard
Suggest content with Copilot in Whiteboard
Navigate Copilot in Whiteboard
-
You can use Whiteboard in Microsoft Edge, Chrome, or your favorite browser by going to Microsoft Whiteboard.
-
Opening the webpage should sign you in automatically if you're logged in to Windows with a personal Microsoft account. Otherwise, the Whiteboard sign-in page will open.
-
Sign-in with your Microsoft account to continue.
-
Navigate using Tab and press Enter when you hear “Whiteboard gallery, create new whiteboard button, create and open a new whiteboard.”
-
To open an existing Whiteboard, navigate using the Left/Right arrow keys then press Enter when you hear “your whiteboard name, whiteboard.”
-
Navigate using Tab until you hear “Copilot menu item collapsed, has pop-up.”
-
To navigate all the features, press Enter and then the Up/Down arrow keys.
Notes:
-
In case your whiteboard is already set up, go to the whiteboard gallery, and use the Left and Right arrow keys until you hear the message, "Whiteboard gallery, your whiteboard name."
-
To learn about navigating Microsoft Whiteboard in Teams, refer to Use a screen reader with the Whiteboard app in Microsoft Teams.
Suggest Content with Copilot in Whiteboard
You can use Copilot in Whiteboard to provide suggestions and create required content.
-
Press Up/Down arrow keys to navigate all the features, press Enter when you hear “Suggest ideas and content menu item, 1 of 3.” Copilot opens the Suggest prompt window.
-
You can enter your own prompt or press Right arrow key to enter to autocomplete the pre suggested prompt, “Suggest ways to optimize my website for organic search without using social media.”
-
Press Enter after entering in a prompt; Copilot creates a list of 6 suggestions.
-
Use Tab and Enter keys to insert, edit, or generate more content.
-
You can send your feedback on the results by navigating to the like and Dislike buttons.
-
Use Up/Down arrow keys to navigate through the content.
-
To delete any suggestions from the list, navigate until you hear “Delete suggestion button” then press Enter.
Notes:
-
In RTL languages, you can use the Left arrow key to autocomplete the pre suggested prompt.
-
For more information, refer to Discover new ideas in Whiteboard with Copilot for Microsoft 365.
Categorize content with Copilot in Whiteboard
Categorize your Whiteboard content with the help of categorize feature in Copilot. You can select at least two sticky notes with content and access categorize in the multi-selection menu for the notes.
-
The categorize feature is disabled in the menu on new Whiteboard or any Whiteboard that does not contain at least two sticky notes that contain content.
-
Open Copilot and navigate using Up/Down arrow keys, then press Enter when you hear “Categorize notes in view, menu item, 2 of 3.”
-
Copilot automatically selects all the sticky notes in view on the whiteboard.
-
Press Enter when you hear “Categorize selected notes, Categorize button.”
-
Copilot organizes all the ideas into categories with headers.
-
Use Tab and Enter keys to keep, revert, and regenerate the categorized content.
-
You can send your feedback on the results by navigating to the like and Dislike buttons.
Note: To learn more, go to Organize your ideas in Whiteboard with Copilot for Microsoft 365.
Summarize content with Copilot in Whiteboard
You can also Summarize your Whiteboard content in simple steps using Copilot.
-
Navigate copilot using Up/Down arrow keys until you hear “Summarize note Content menu item, 3 of 3.”
-
Press Enter to summarize the Whiteboard’s content. Copilot creates a Loop component with a bullet point summary.
-
To keep the summarized content in your whiteboard, navigate using Tab key and press Enter when you hear “Keep it, button”.
-
You can send your feedback on the results by navigating to the like and Dislike buttons.
-
To discard the generated content, press Enter when you hear “Discard, button.”
Note: To learn more, go to Summarize ideas in Whiteboard with Copilot for Microsoft 365.
See also
Basic tasks using a screen reader with Microsoft Whiteboard
Use a screen reader with the Whiteboard app in Microsoft Teams
Set up your device to work with accessibility in Microsoft 365
Technical support for customers with disabilities
Microsoft wants to provide the best possible experience for all our customers. If you have a disability or questions related to accessibility, please contact the Microsoft Disability Answer Desk for technical assistance. The Disability Answer Desk support team is trained in using many popular assistive technologies and can offer assistance in English, Spanish, French, and American Sign Language. Please go to the Microsoft Disability Answer Desk site to find out the contact details for your region.
If you are a government, commercial, or enterprise user, please contact the enterprise Disability Answer Desk.


