
When you change jobs or graduate from a school or college, you will leave behind all files that were in your work or school OneDrive account.
If you want to keep those files, you will need to copy or transfer them to the OneDrive of your own personal Microsoft account.
Note: If you don’t have a personal Microsoft account, create one.
There are a couple of ways to move or transfer your files:
Use File Explorer or Finder to copy files to another OneDrive
If you have OneDrive setup for both work/school and personal accounts, you can copy your files from one folder to another. If you only have one account set up, learn How to add an account in OneDrive.
-
Use File Explorer or Finder to select the files or folders you want to keep.
-
Select Copy.
Notes:
-
We recommend to copy/paste rather than drag/drop as it’s less prone to errors caused by dropping in the wrong place.
-
Be careful you don’t copy more data than you have room for in your personal account.
-
-
Use File Explorer or Finder to go your personal OneDrive.
-
Select Paste.
-
OneDrive will now sync your copied files to your own personal account.
Import files with Mover transfer wizard
You can also use Mover for when you want to copy files to your personal OneDrive.
Notes:
-
You will need to disable conditional access, multi-factor, or two-step verification on your work or school account before using Mover. If you don’t have permission to do that, you cannot use Mover. Learn how.
-
Be careful you don’t copy more data than you have room for in your personal account.
-
Go to Mover sign-in page and sign in to with the work or school account that you want to copy files from.
-
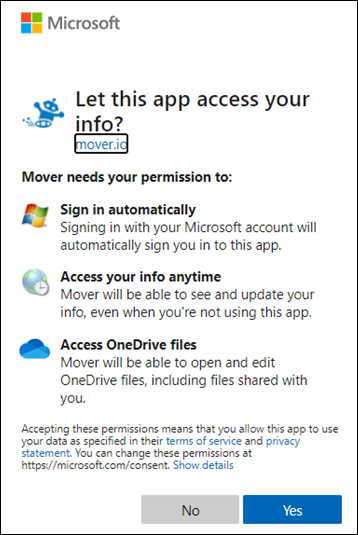
Mover asks for permission to access your OneDrive when you use it for the first time. Select Yes to grant permission.
-
Under “Step 1: Select Source”, select Authorize New Connector.
-
Choose the OneDrive you want to transfer from and select Authorize.
-
Select the files and folders that you want to import.
-
Under “Step 2: Select destination”, select Authorize New Connector to choose the destination location that your files import to.
-
Select Authorize next to the Microsoft account that you want to import files to and sign in with your Microsoft account.
Note: If you don’t have a personal Microsoft account, create one.
-
Select an existing folder to move your files to, or close Create Folder if you want to store them in a new location.
-
Under “Step 3: Start transferring”, select Start copy.
Note: Original files remain in the source account. The transfer window shows how many files were skipped.
-
Once completed, don't forget to turn two-step or multi-factor authentication back on. Learn how.
See also
Need more help
|
|
Contact Support For help with your Microsoft account and subscriptions, visit Account & Billing Help. For technical support, go to Contact Microsoft Support, enter your problem and select Get Help. If you still need help, select Contact Support to be routed to the best support option. |
|
|
|
Admins Admins should view Help for OneDrive Admins, the OneDrive Tech Community or contact Microsoft 365 for business support. |


