Note: The screenshots in this article are from Clipchamp for personal accounts. The same principles apply to Clipchamp for work and school accounts.
Quickly remove and replace the background of any image or photo for free in Clipchamp. The image background removal feature is free for all Clipchamp subscribers.
How to use image background removal
Step 1. Import an image or photo, or select a stock image
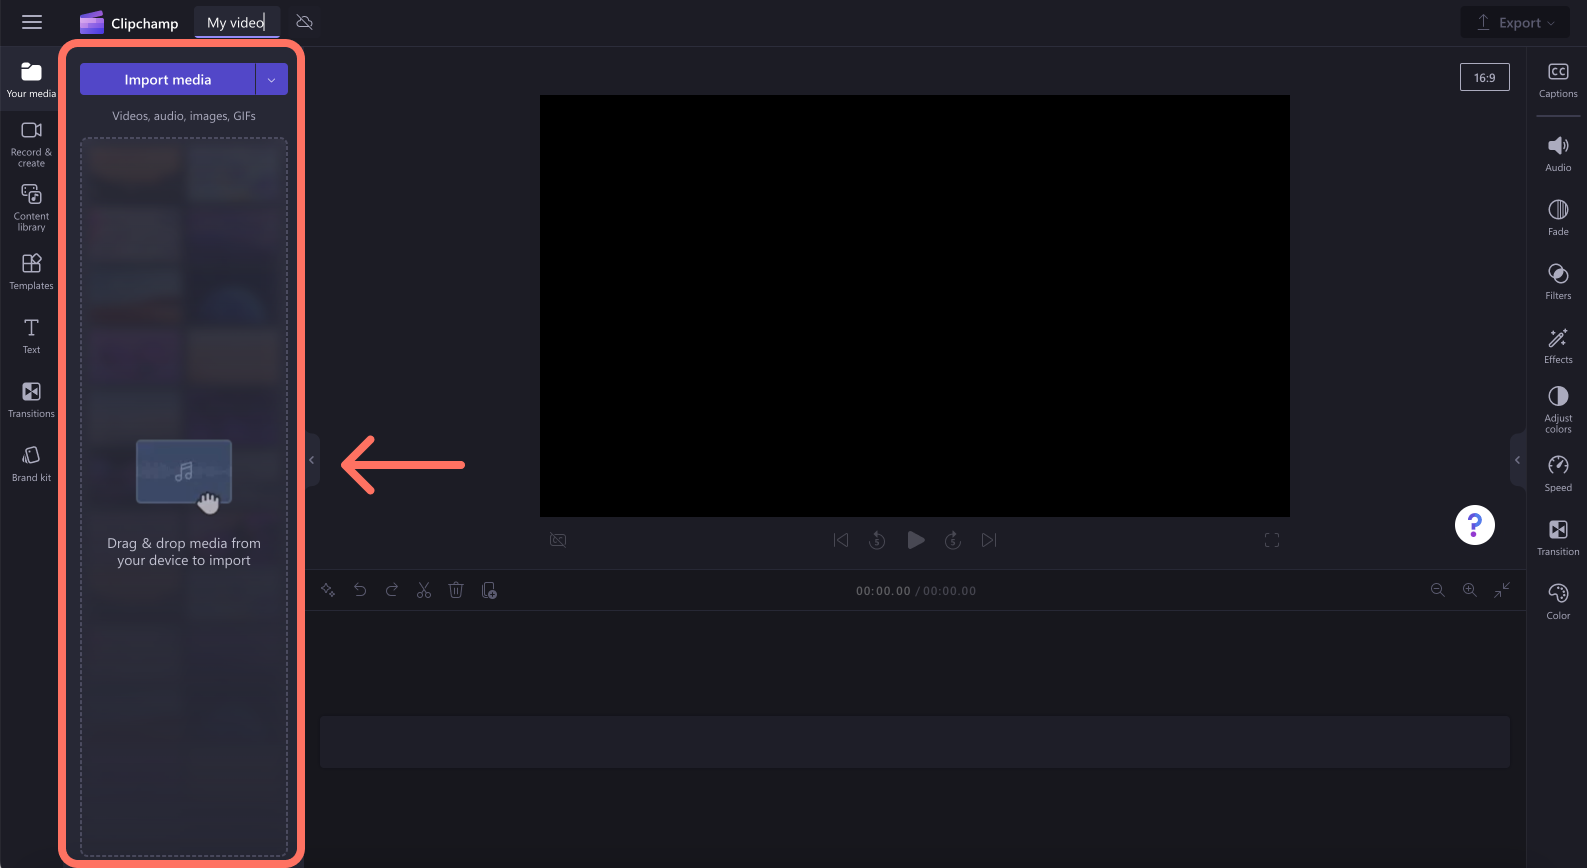
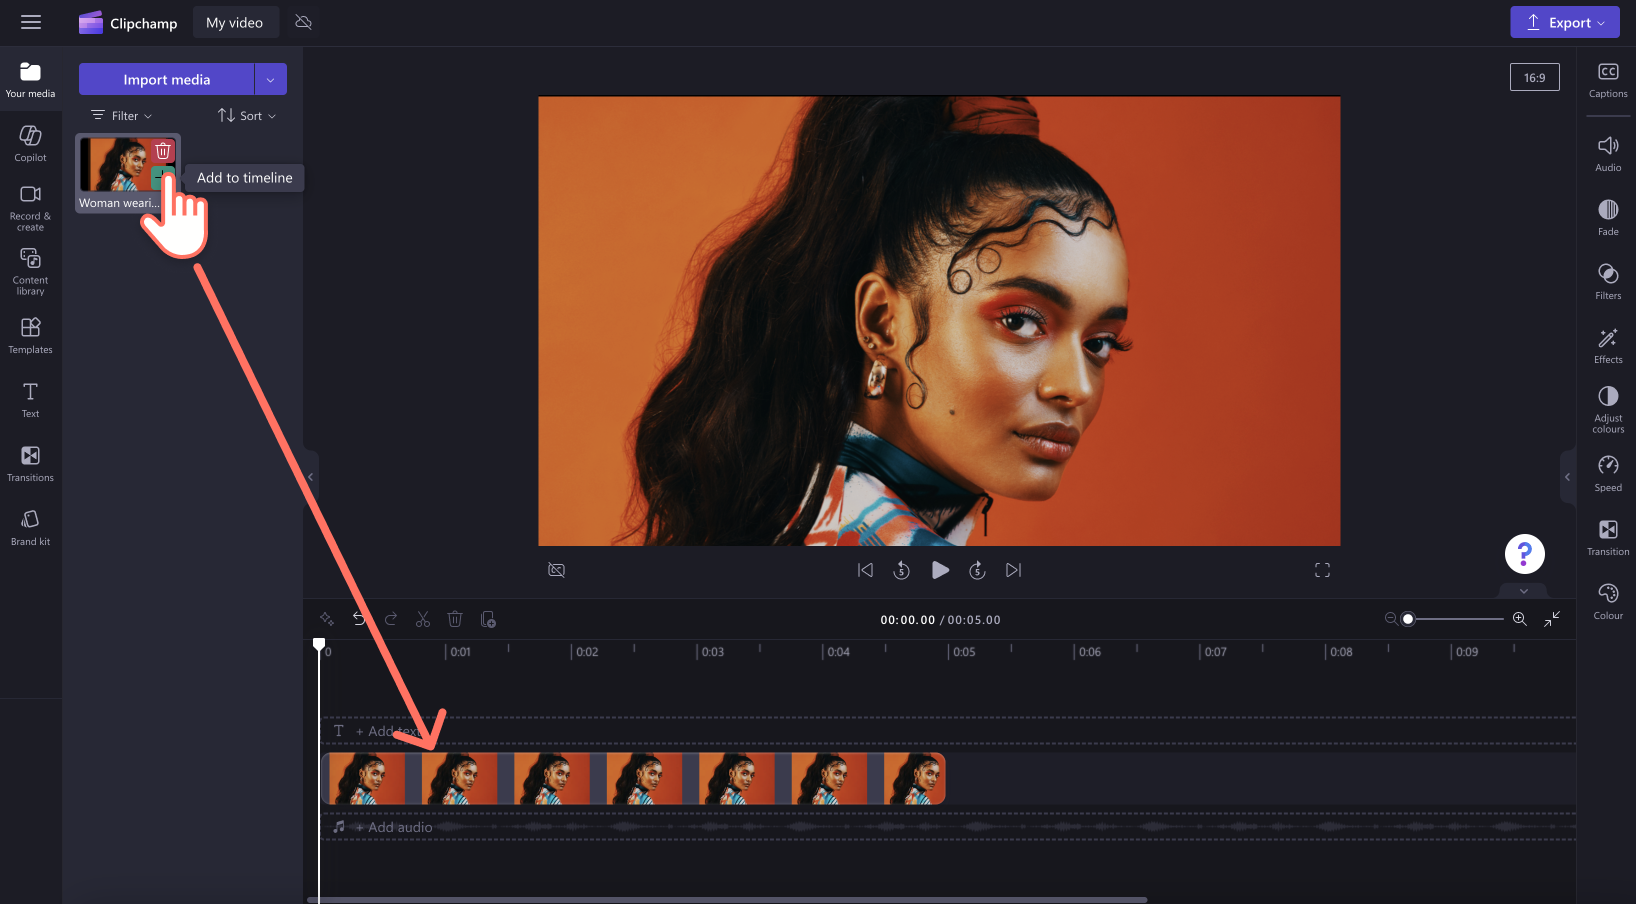
To remove the background of an image, first you'll need to import your media. Click on the your media tab on the toolbar, then either click on the import media button or upload your photos using one of our integrations like OneDrive, Google Drive, Dropbox, or Xbox.
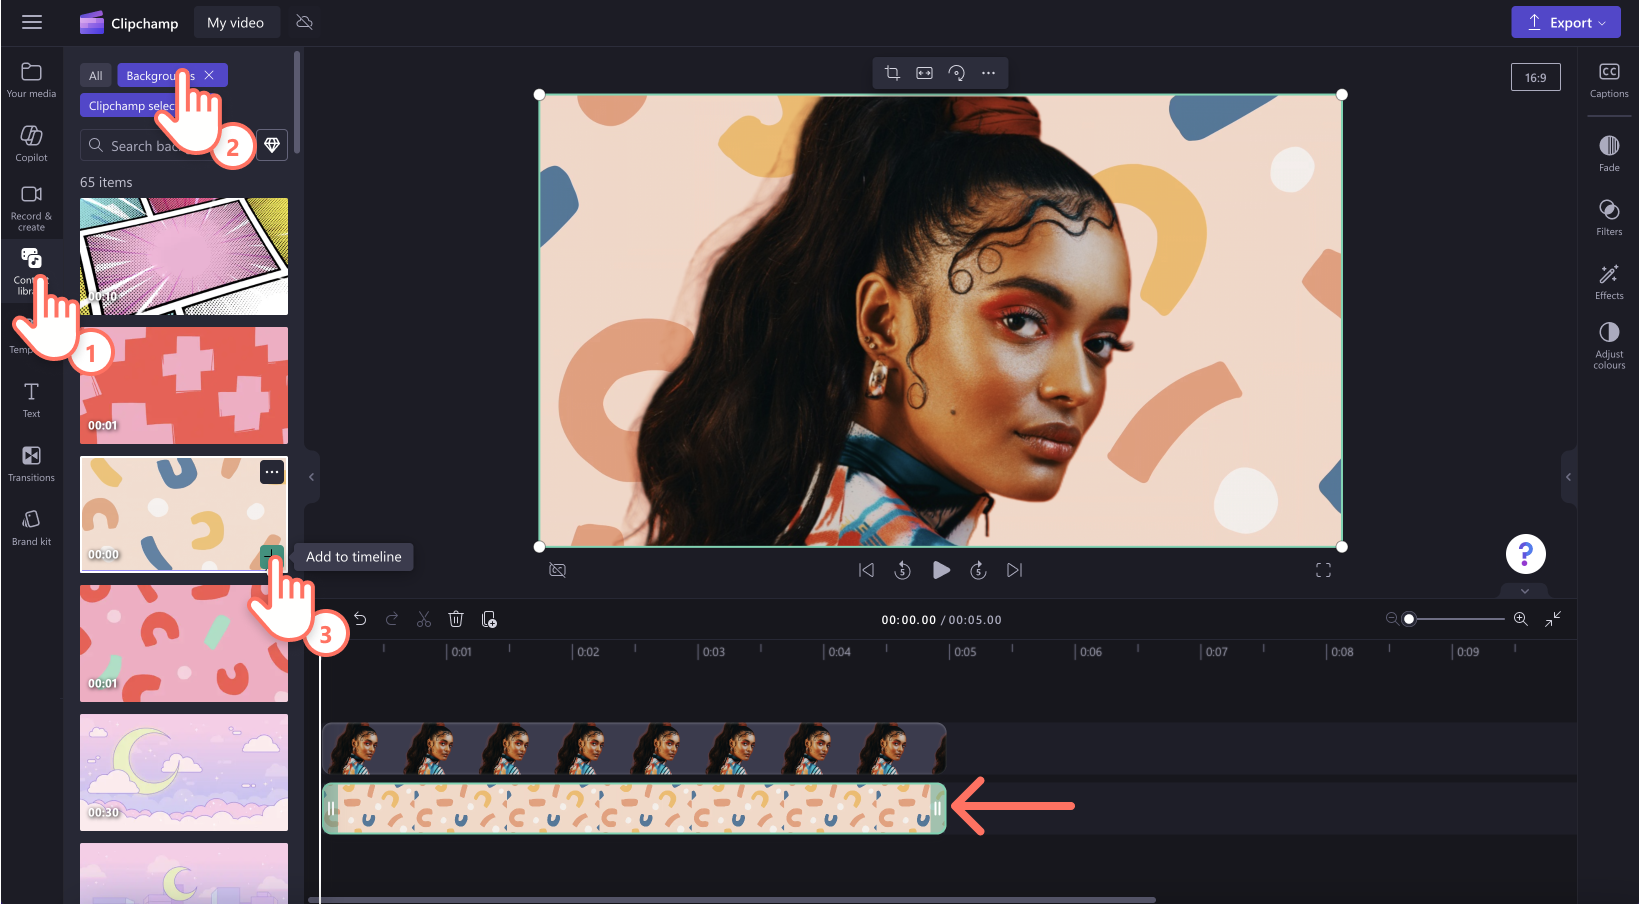
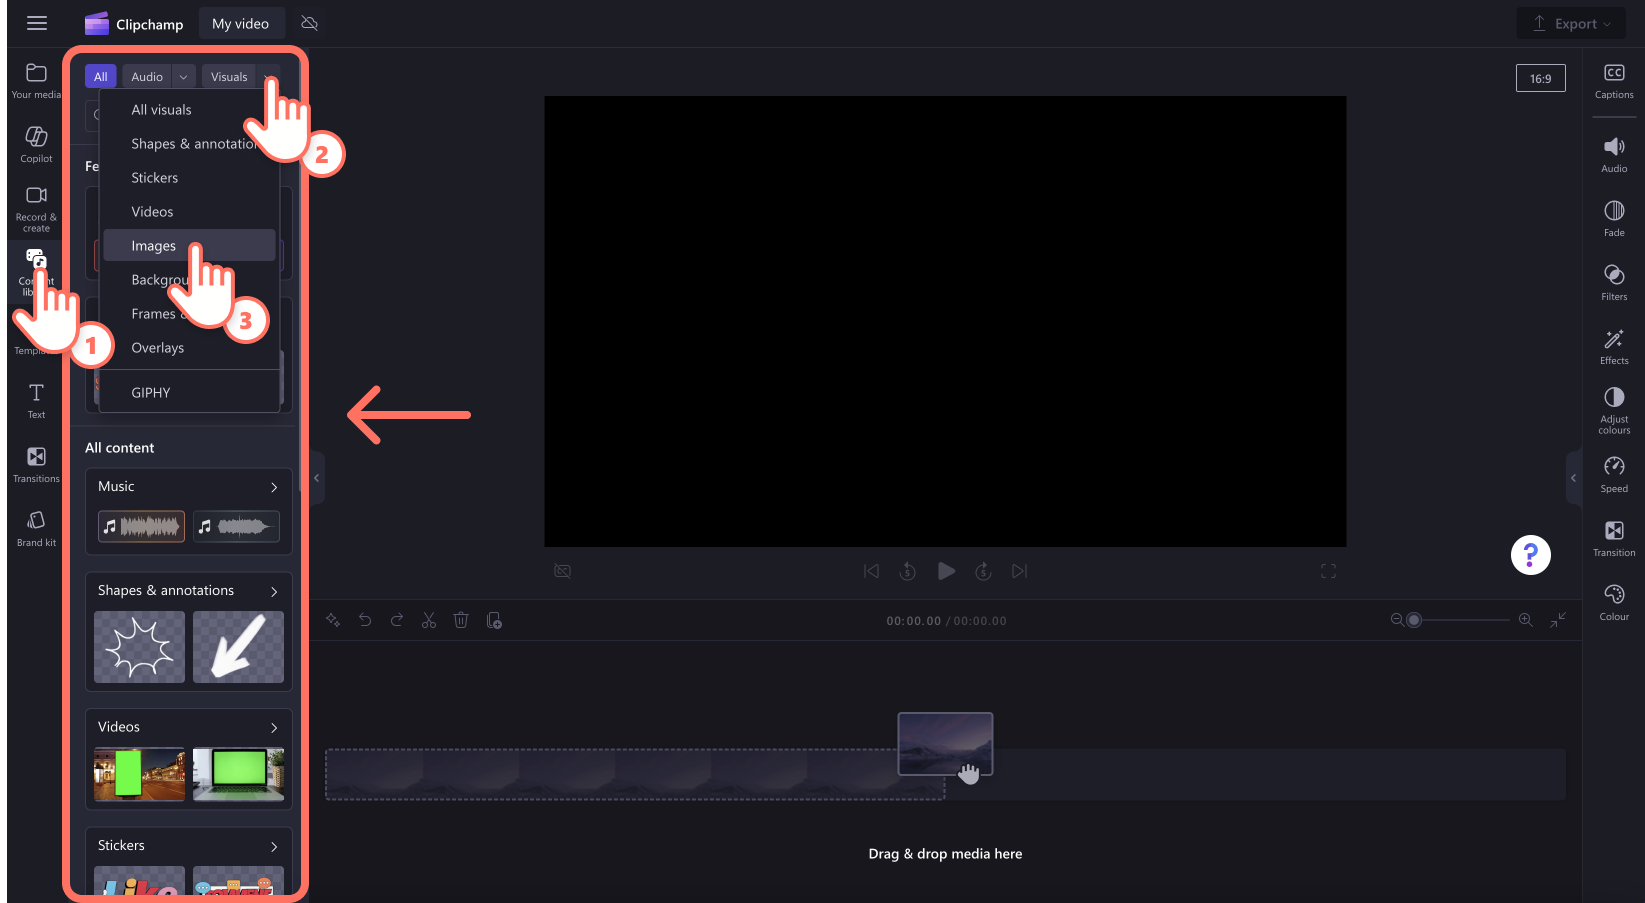
You can also select a stock image to remove the background of. Click on the content library tab, then click on the visuals drop down arrow to select images. Browse the image library to find the perfect photo.
Drag and drop your image onto the timeline to begin editing.
Step 2. Remove the background of your image
There are three different ways to access image background removal.
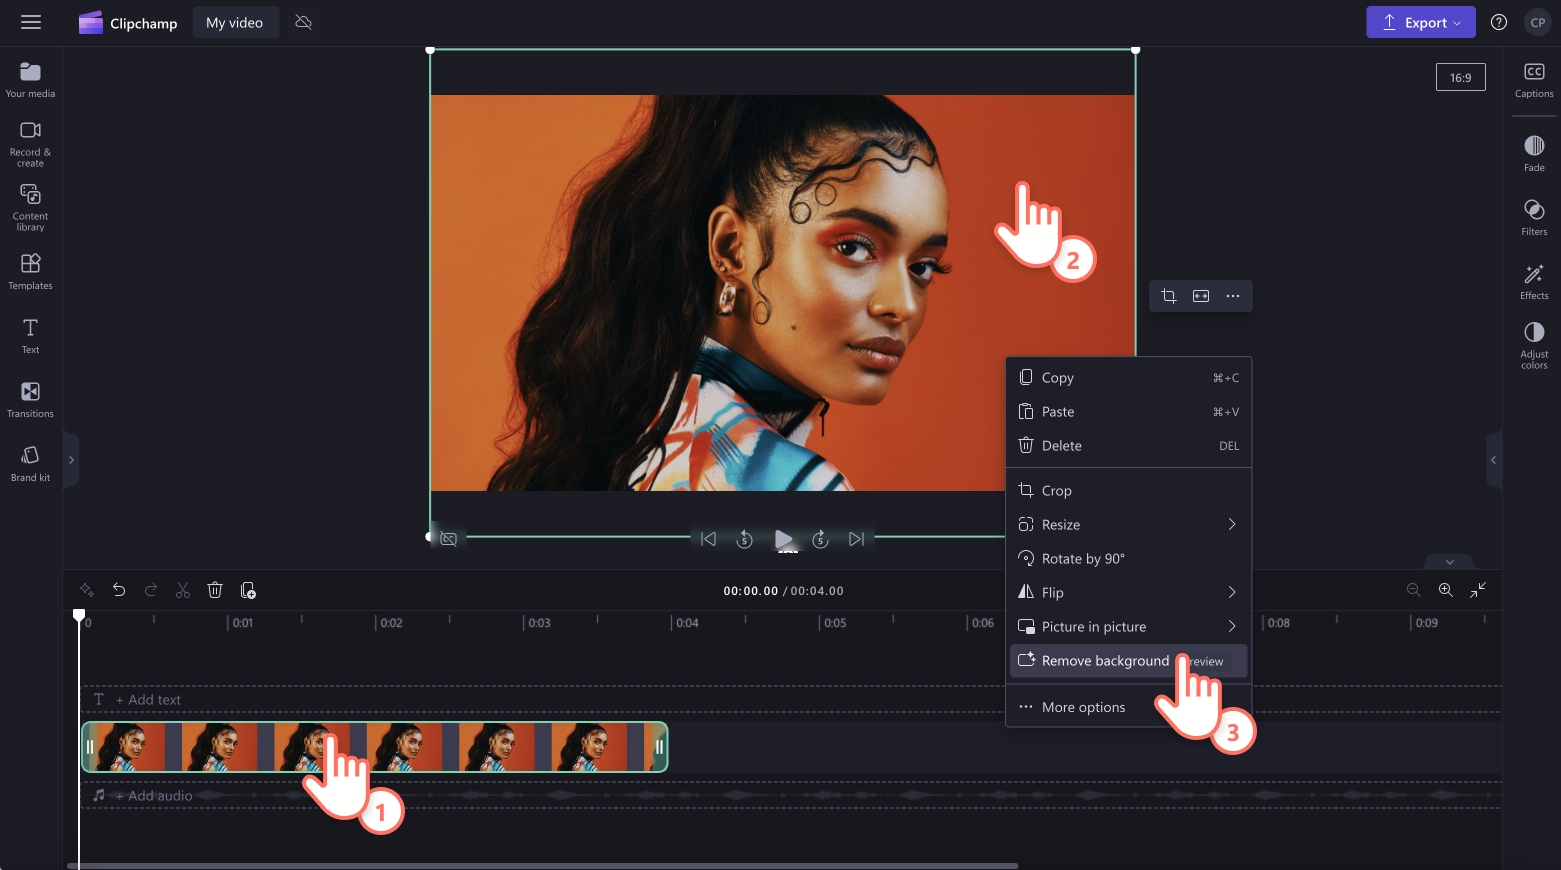
A) Image background removal from the video preview:
Click on your image in the timeline so it's highlighted green. Next, right click on the video preview window/stage, then click on the remove background button.
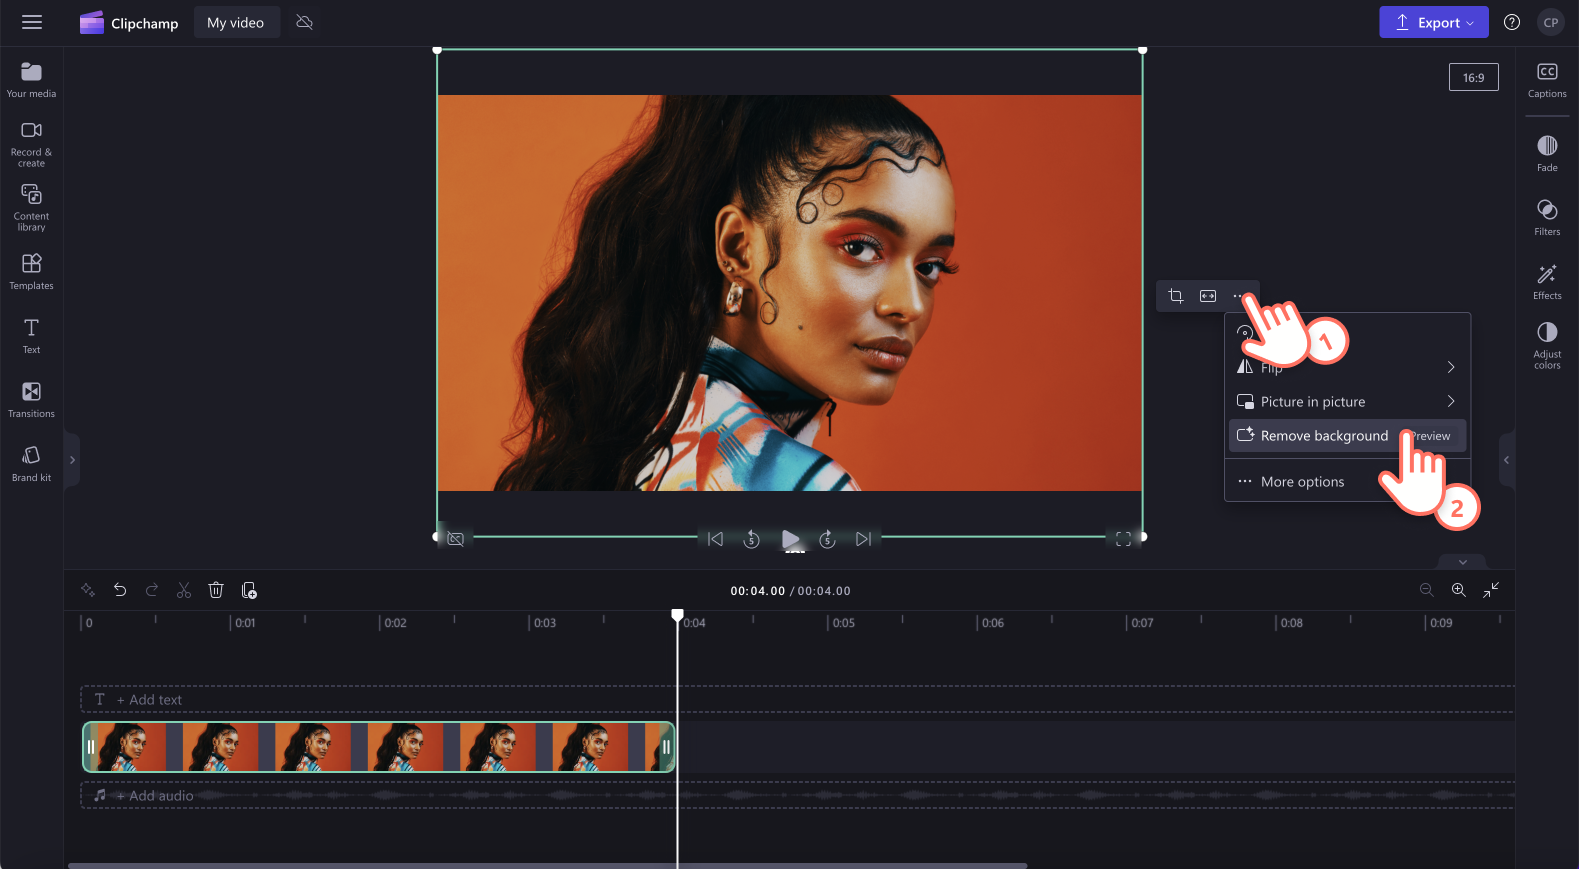
B) Image background removal from the floating toolbar:
Click on your image in the timeline so it's highlighted green. Next, click on the three dots on the floating toolbar to open the background removal feature. Click on the remove background button.
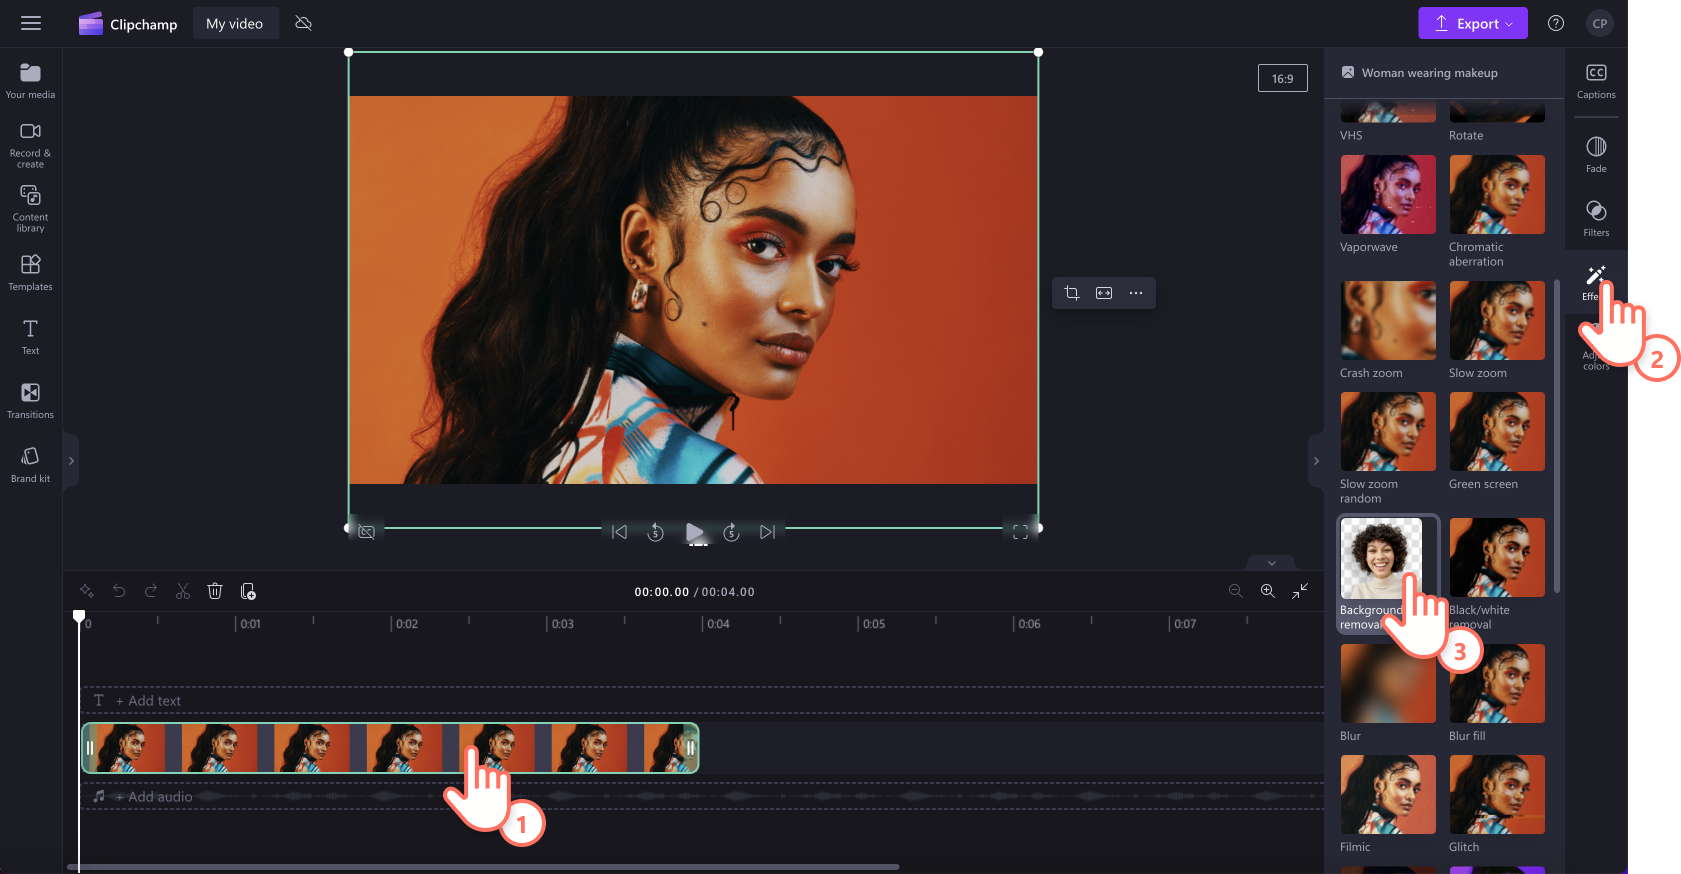
C) Image background removal from the effects tab:
Click on your image in the timeline so it's highlighted green. Next, click on the effects tab on the property panel, then select the background removal effect. If you would like to undo, reselect the background removal effect or click on none option.
Note: accessing the background removal feature through the effects tab is only available to Clipchamp for personal accounts at this point in time.
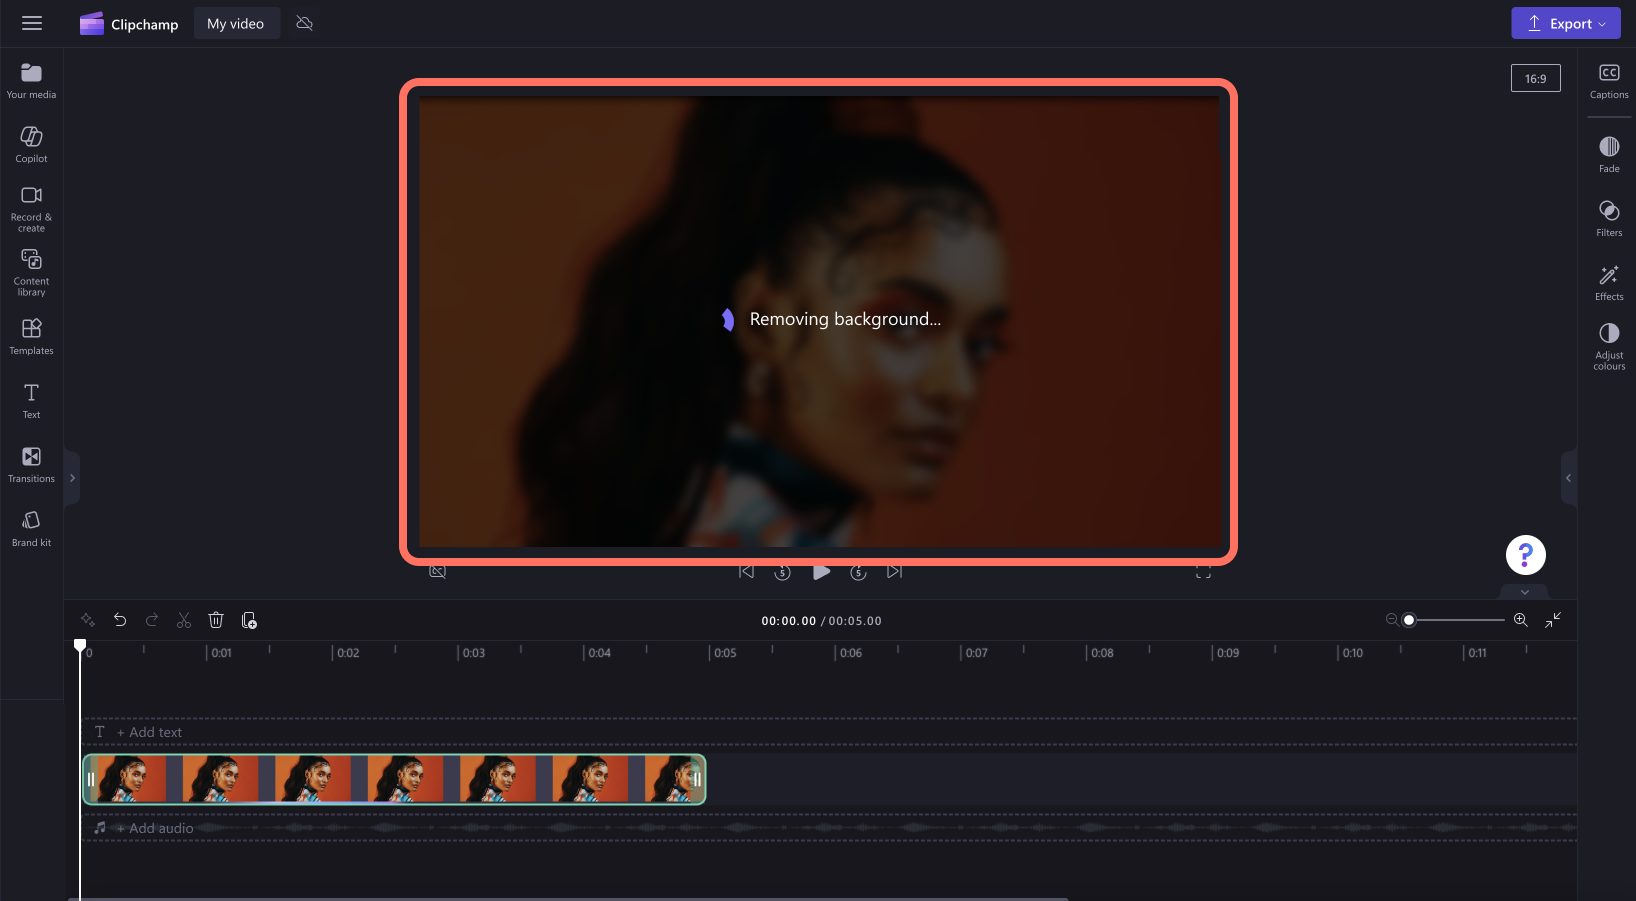
Your image background will automatically start removing using AI technology.
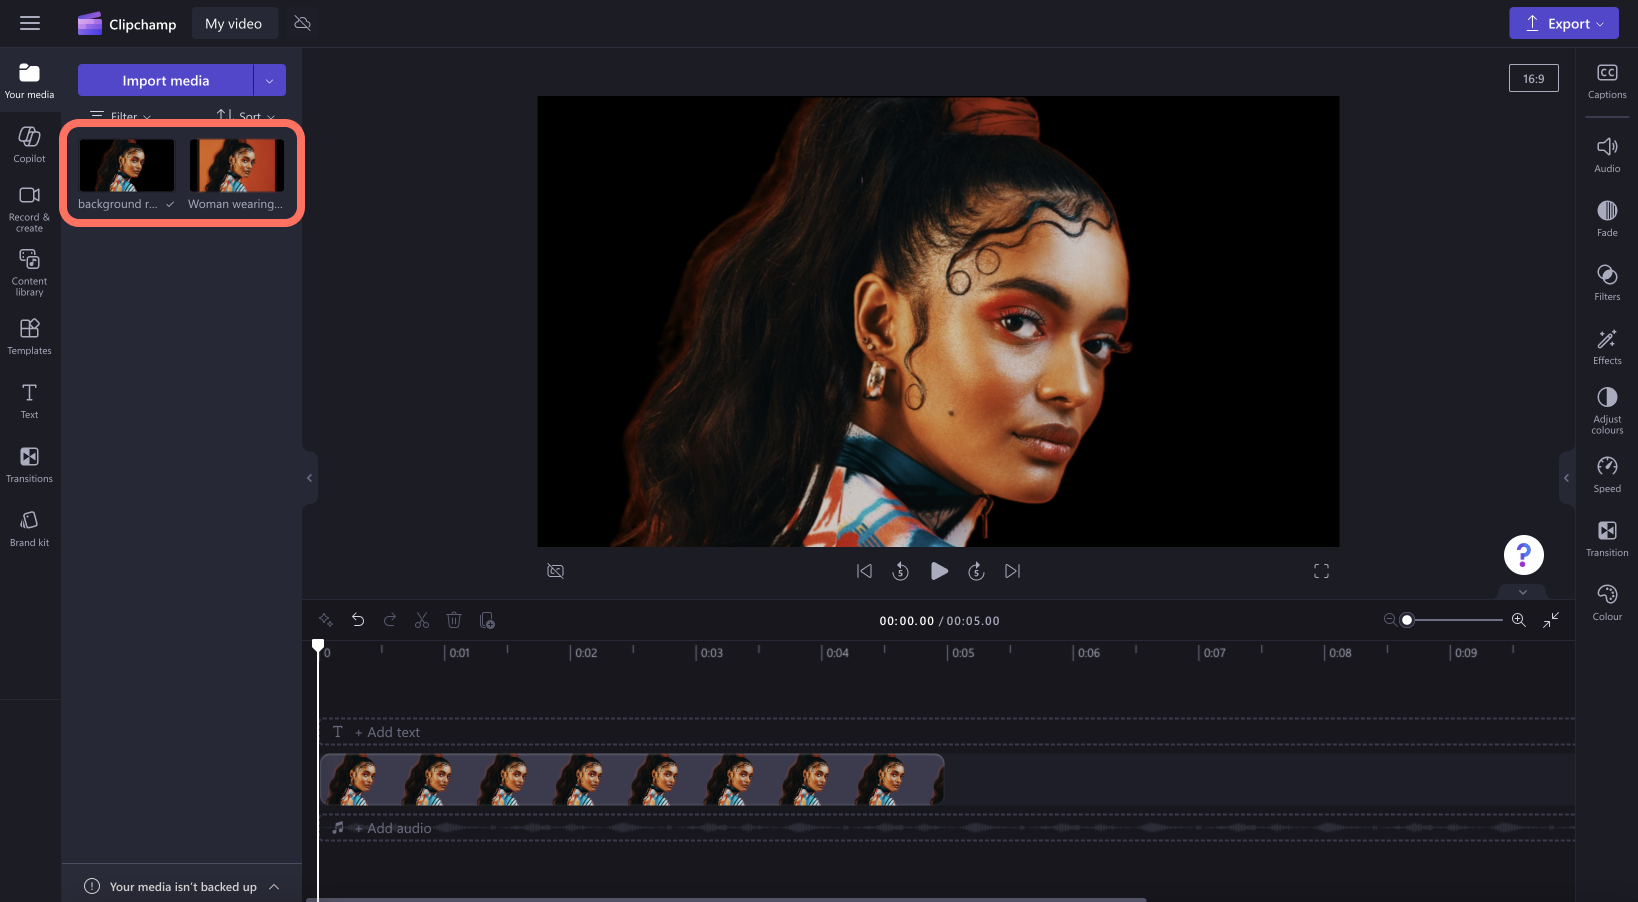
Once the background has been removed from your image, a second asset will show in the your media tab on the toolbar. Here, your original image and a second image with a transparent background will appear.
Your transparent background image will also appear on the timeline and automatically download to your device.
How to restore an image background
If you're unhappy with the image background removal changes, just click on the undo and redo buttons on the timeline.
While your image is selected on the timeline (highlighted green), you can right click again on the video preview window/stage, then click on the restore background button.
To undo the change from the effects tab on the property panel, reselect the background removal effect or click on none option.
How to add a new image background
Now that the background of your image has been removed, the image file will appear to have a transparent background. If there is no other asset stacked on the timeline, the background will appear black.
To add a new image or video background, drag and drop an image or video onto the timeline below your image from the content library tab. You can also add personal media to the timeline from the your media tab. Your image will now appear to have a new background.