Note: The screenshots in this article are from Clipchamp for personal accounts. The same principles apply to Clipchamp for work.
How to add a transition between two or more assets
To use video transitions, two or more video or image assets are required on the timeline. The clips or assets must be directly next to each other on the timeline with no gaps. If there are larger gaps on the timeline between assets, it's not possible to add a transition at this location. You can remove gaps between assets using the gap removal feature.
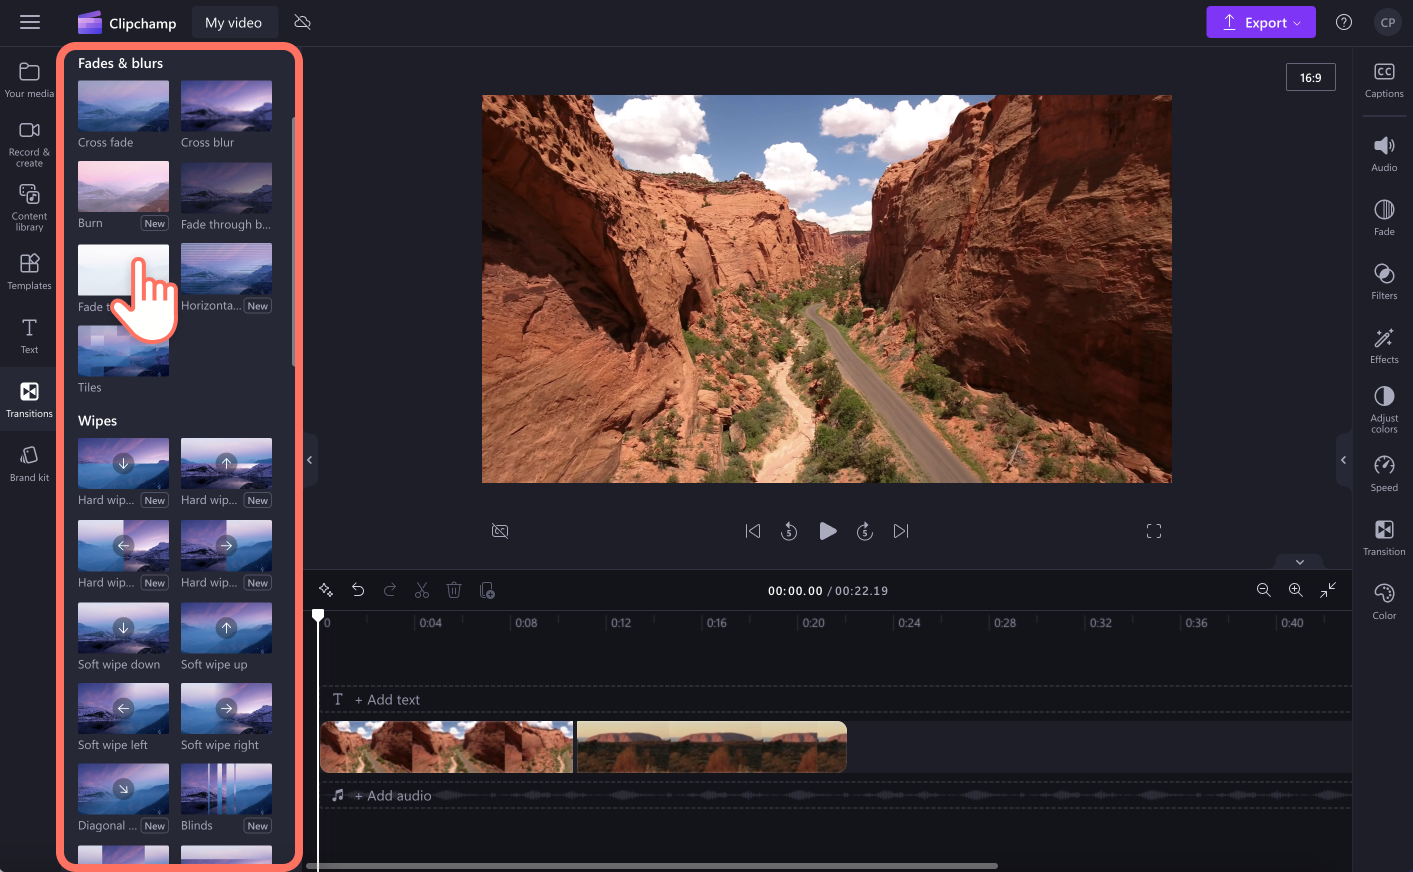
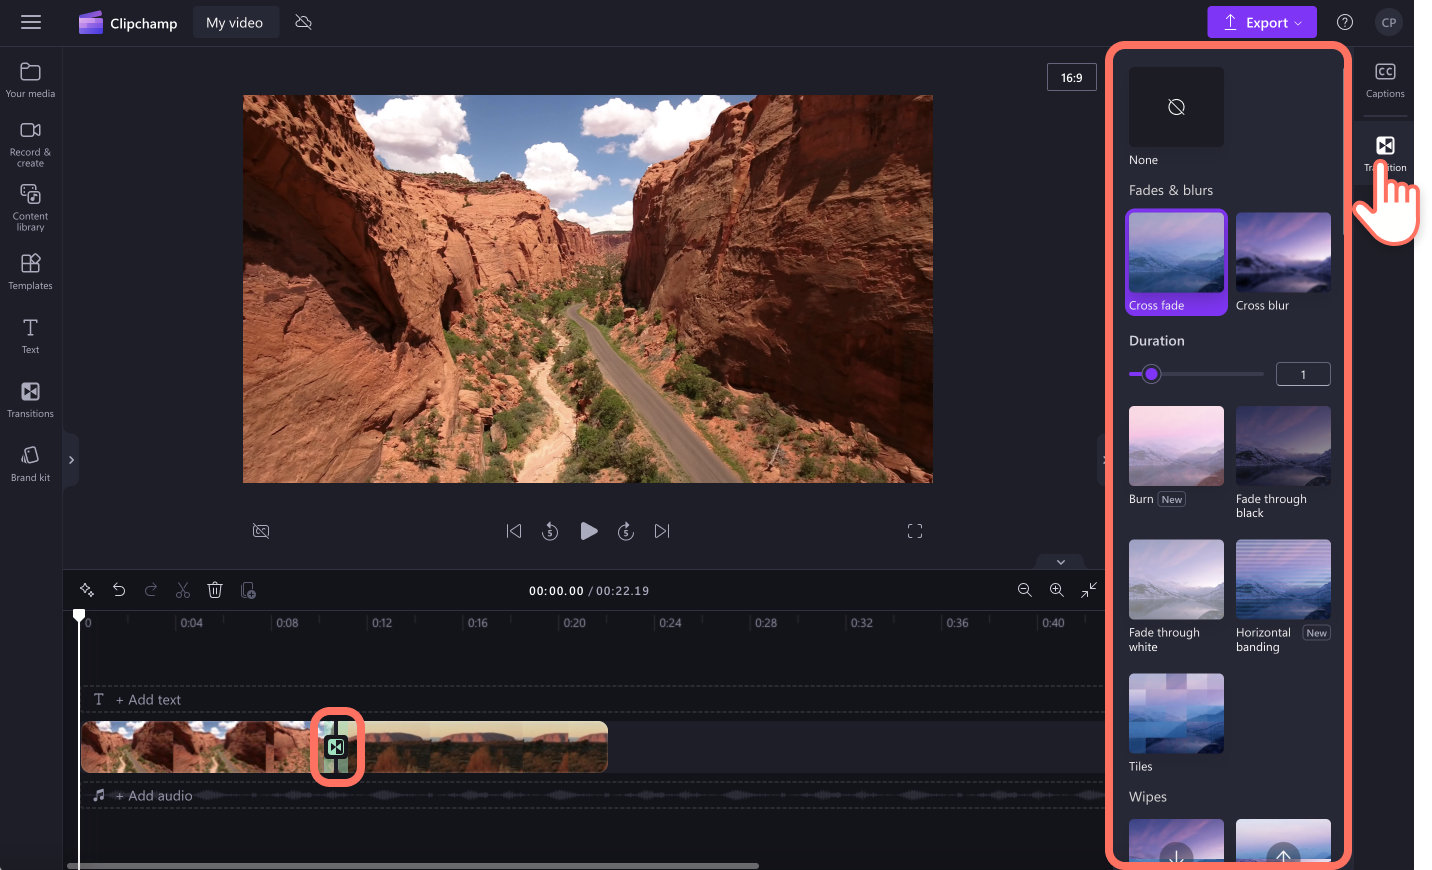
Click on the transitions tab on the toolbar to access all video transitions.
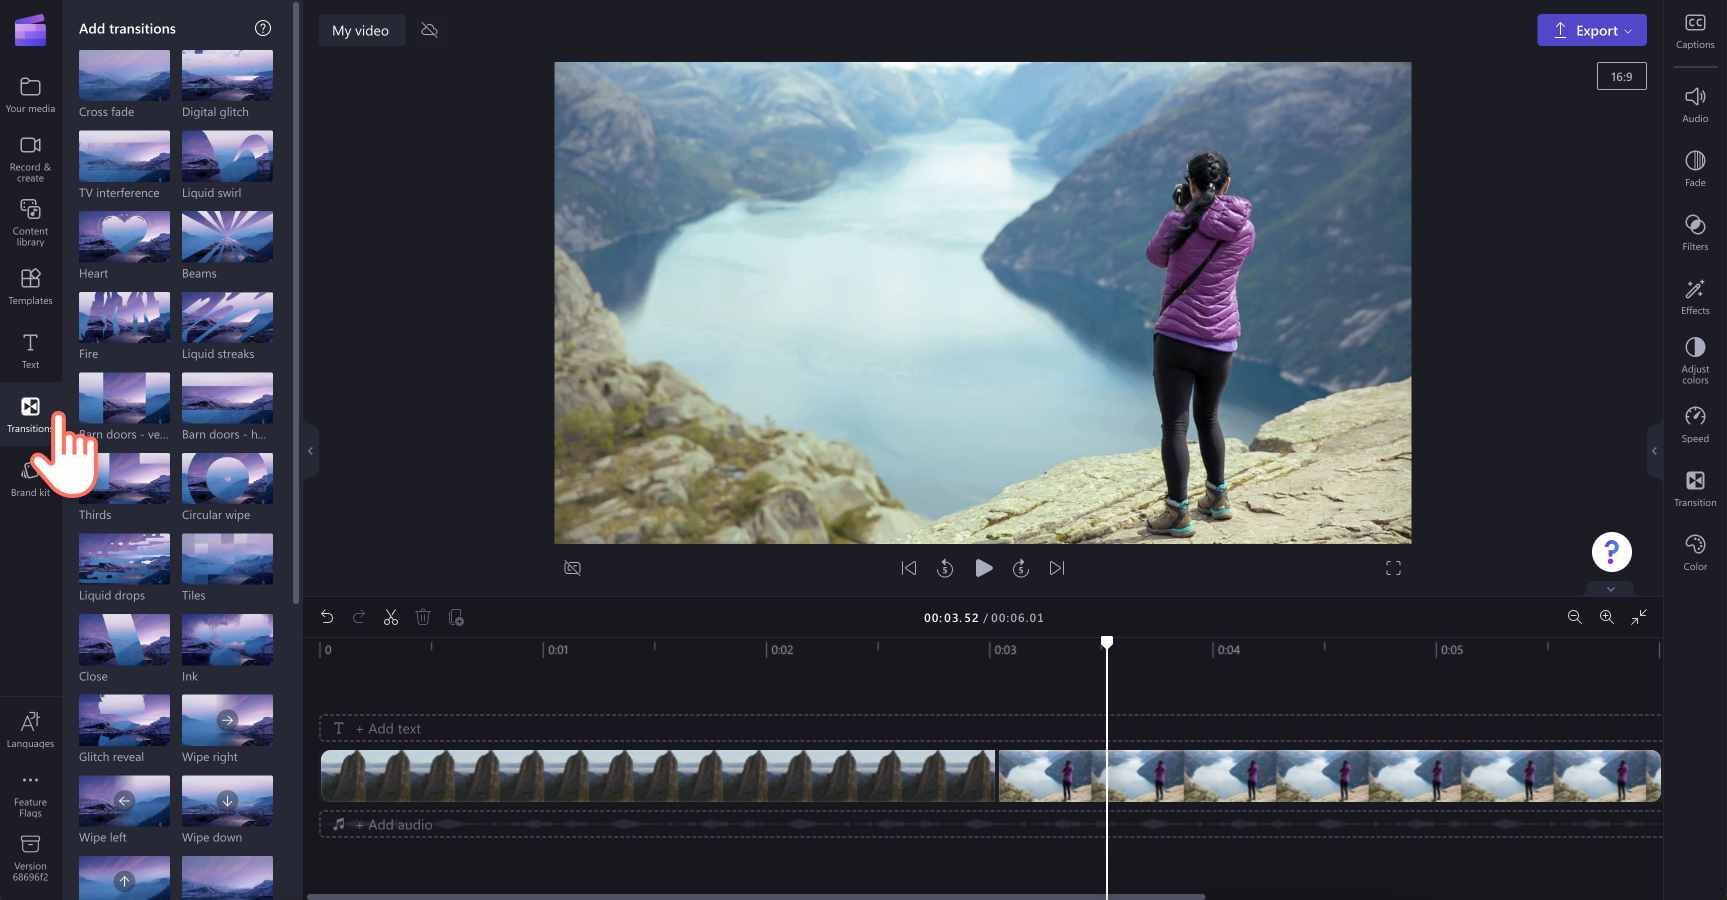
To view the video transition style, hover your curser over the transition option to preview. Find transitions in categories like fades & blurs, wipes, zooms & spins, pushes, cartoon, glitches, and 3D.
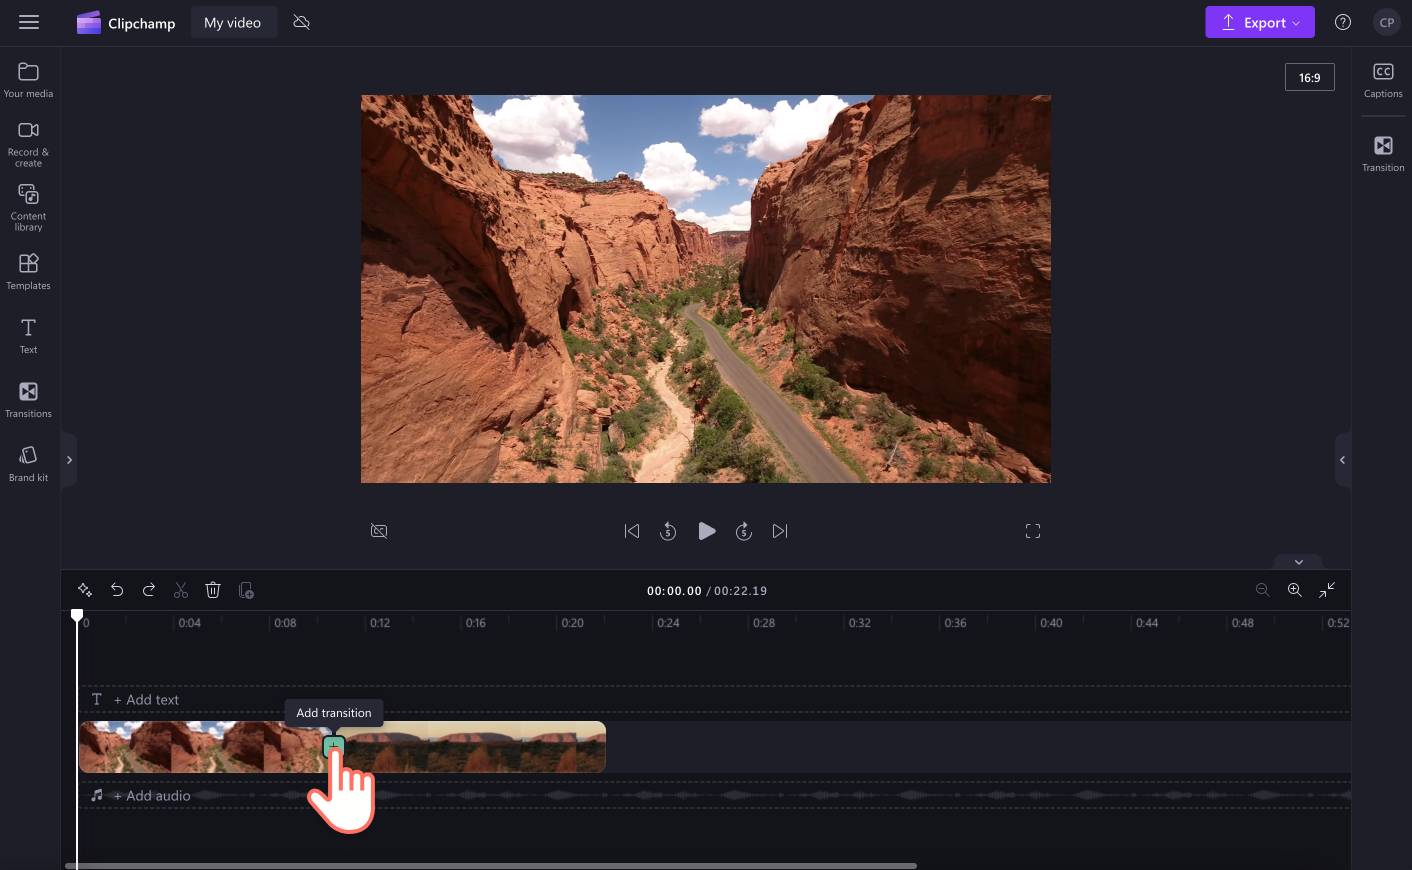
Next, drag and drop a video transition onto the timeline between two assets or video clips. The transition will automatically snap into place.

You can also directly click on the add transition button to add a transition to your video.
Usually, the cross fade transition will be automatically selected for you. To edit the transition selection, click on the transitions tab on the property panel. Here, you can reselect a different transition and edit the existing by changing the transition duration.
How to remove a transition from your video
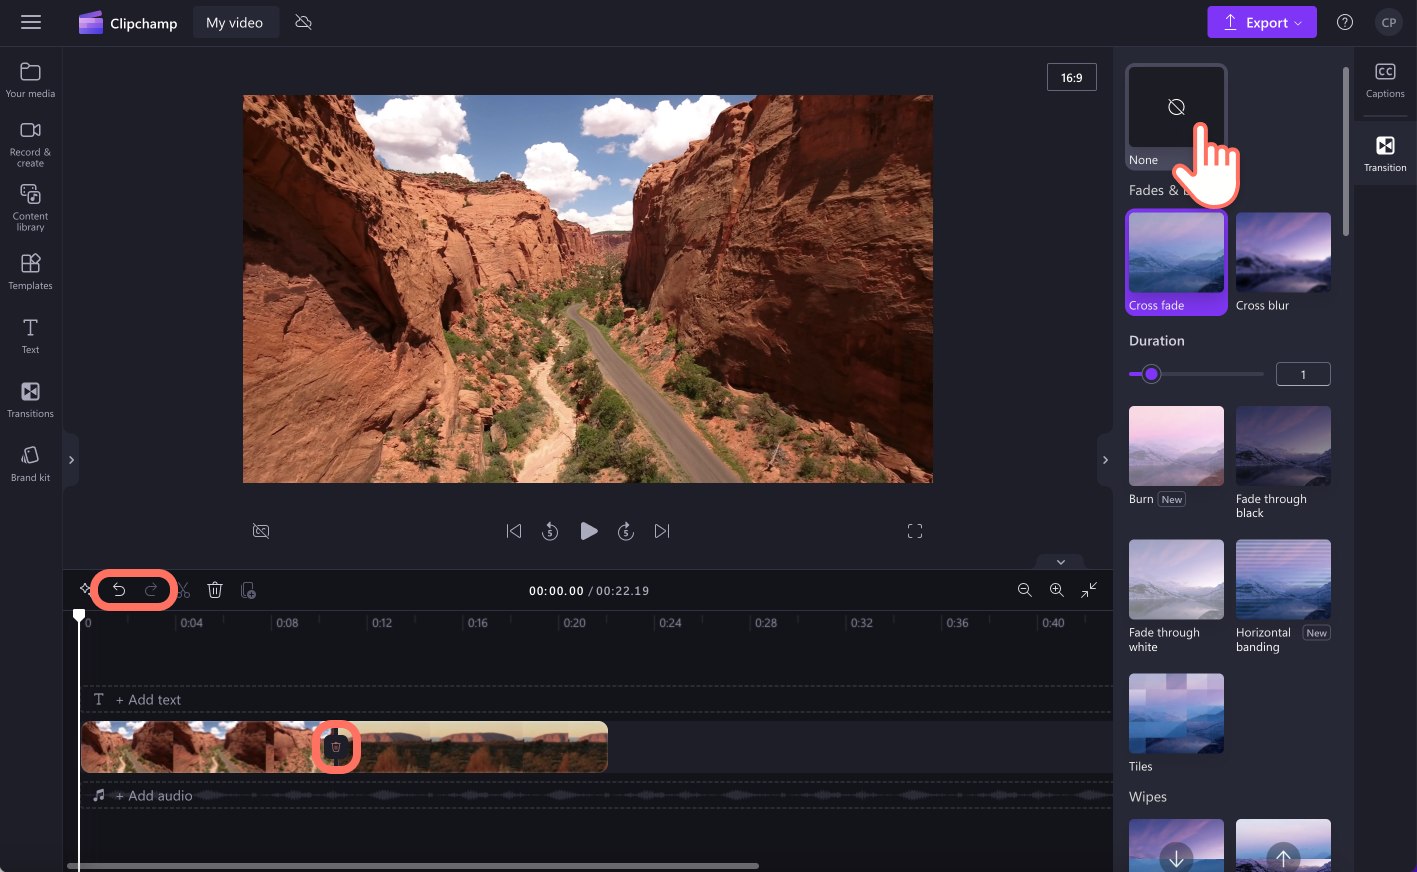
To delete a transition from the timeline, click on the none option inside the transition tab on the property panel. Your transition will automatically remove from the timeline. You can also click on the undo and redo buttons to remove an action from time timeline.
How to edit the duration of your transition
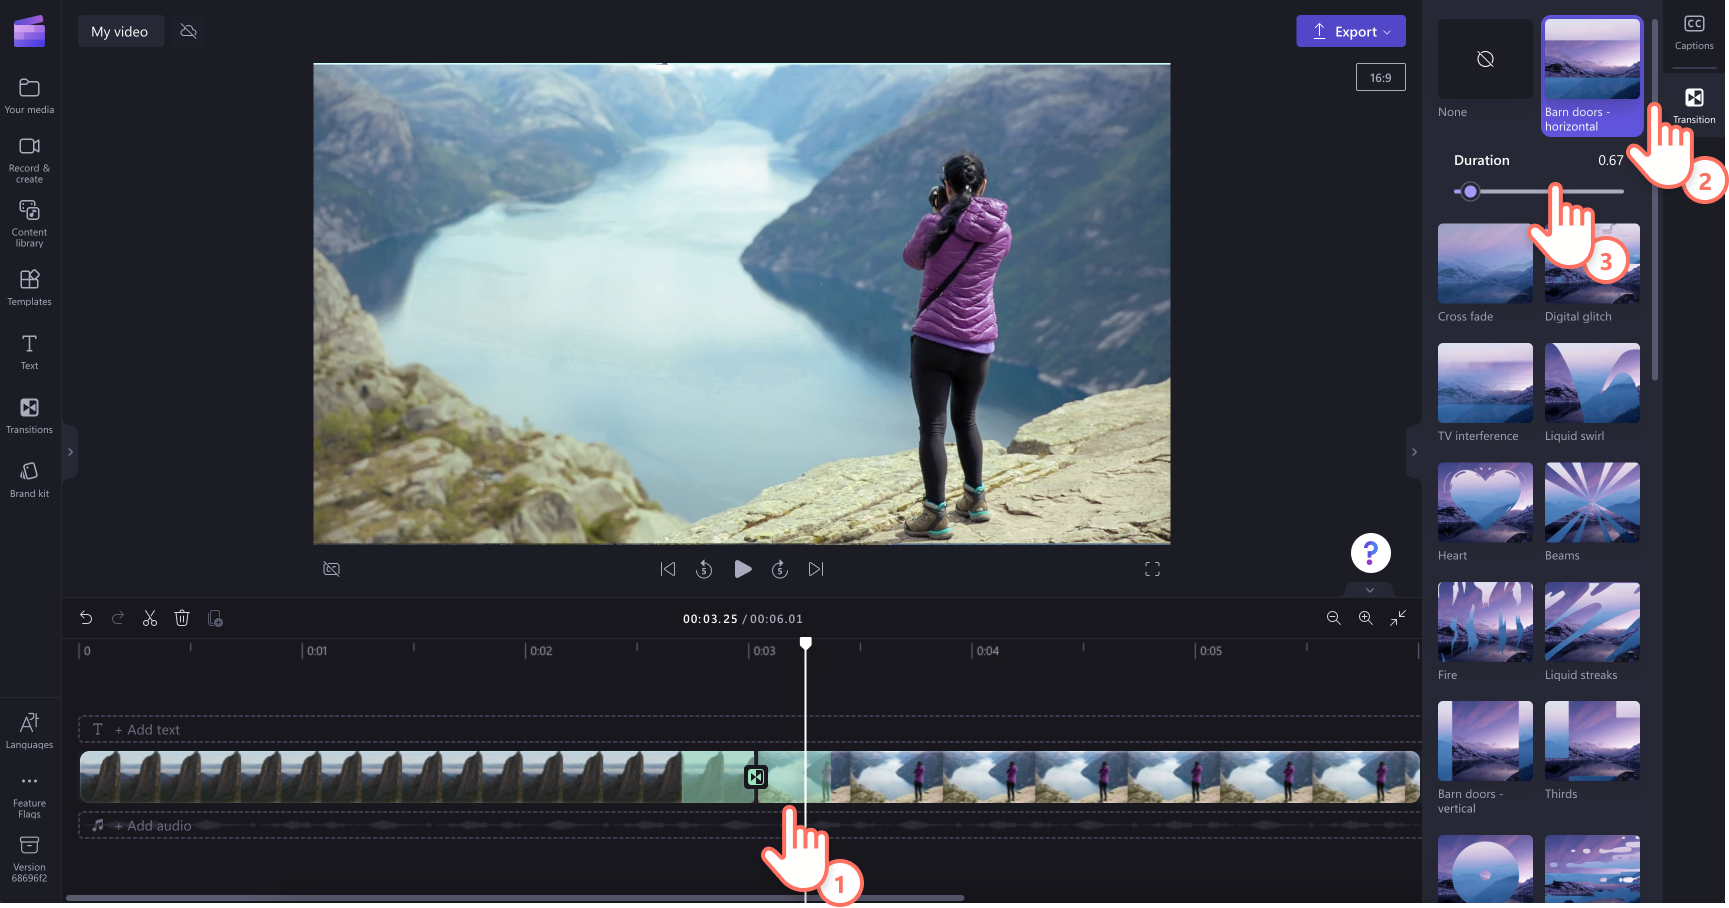
Edit the duration of your video transition inside the transitions tab on the property panel. Use the duration slider to increase or decrease the duration. Drag the slider to the right to increase, or to the left to decrease the length. You can also input a numeric value into the duration box.
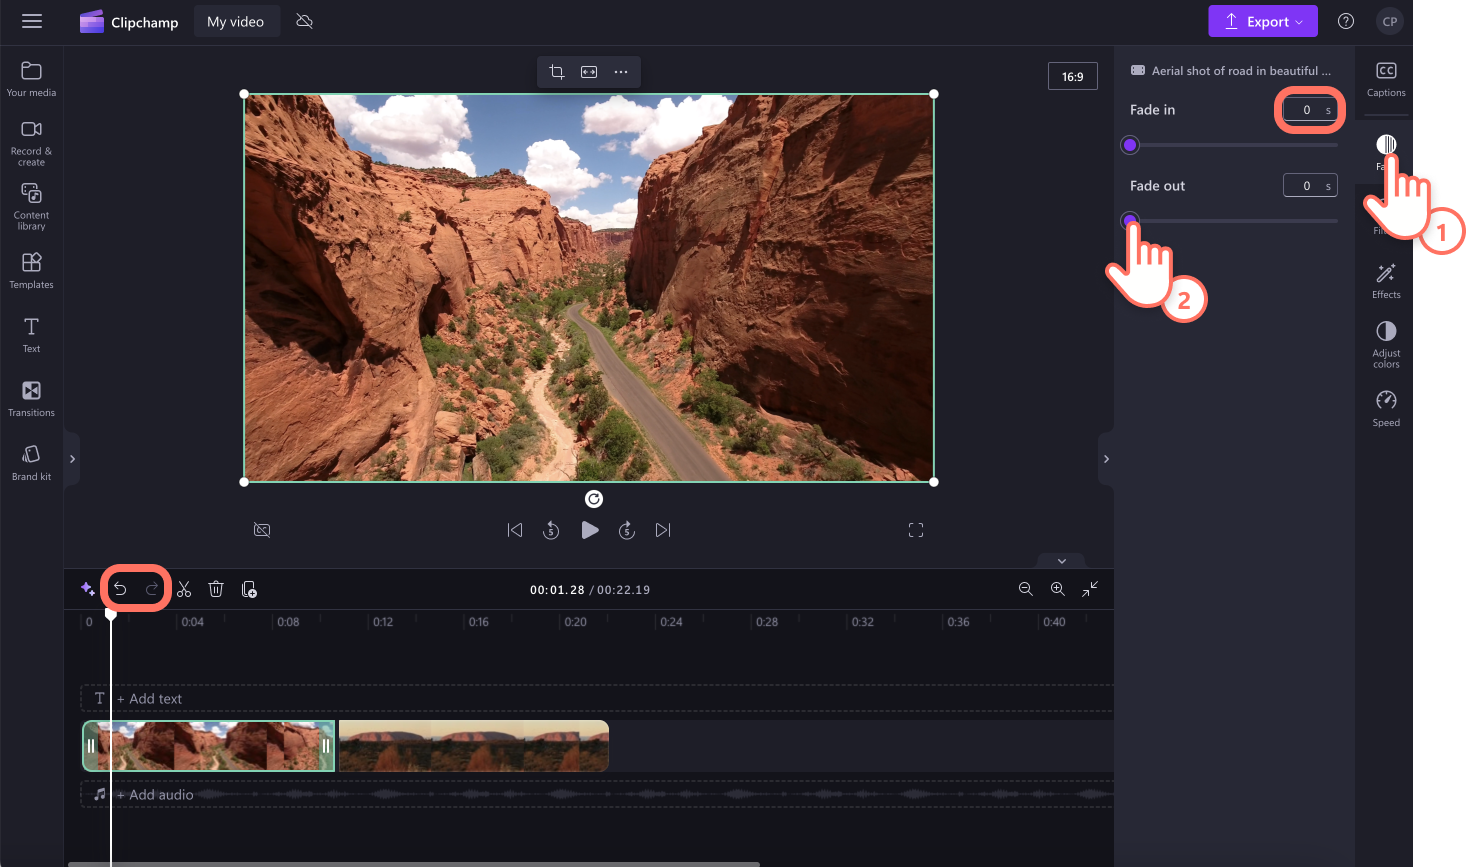
How to fade in and out of a video, image, or audio
To add a fade effect to a video, image, or audio clip, first ensure you've added the asset to the timeline.
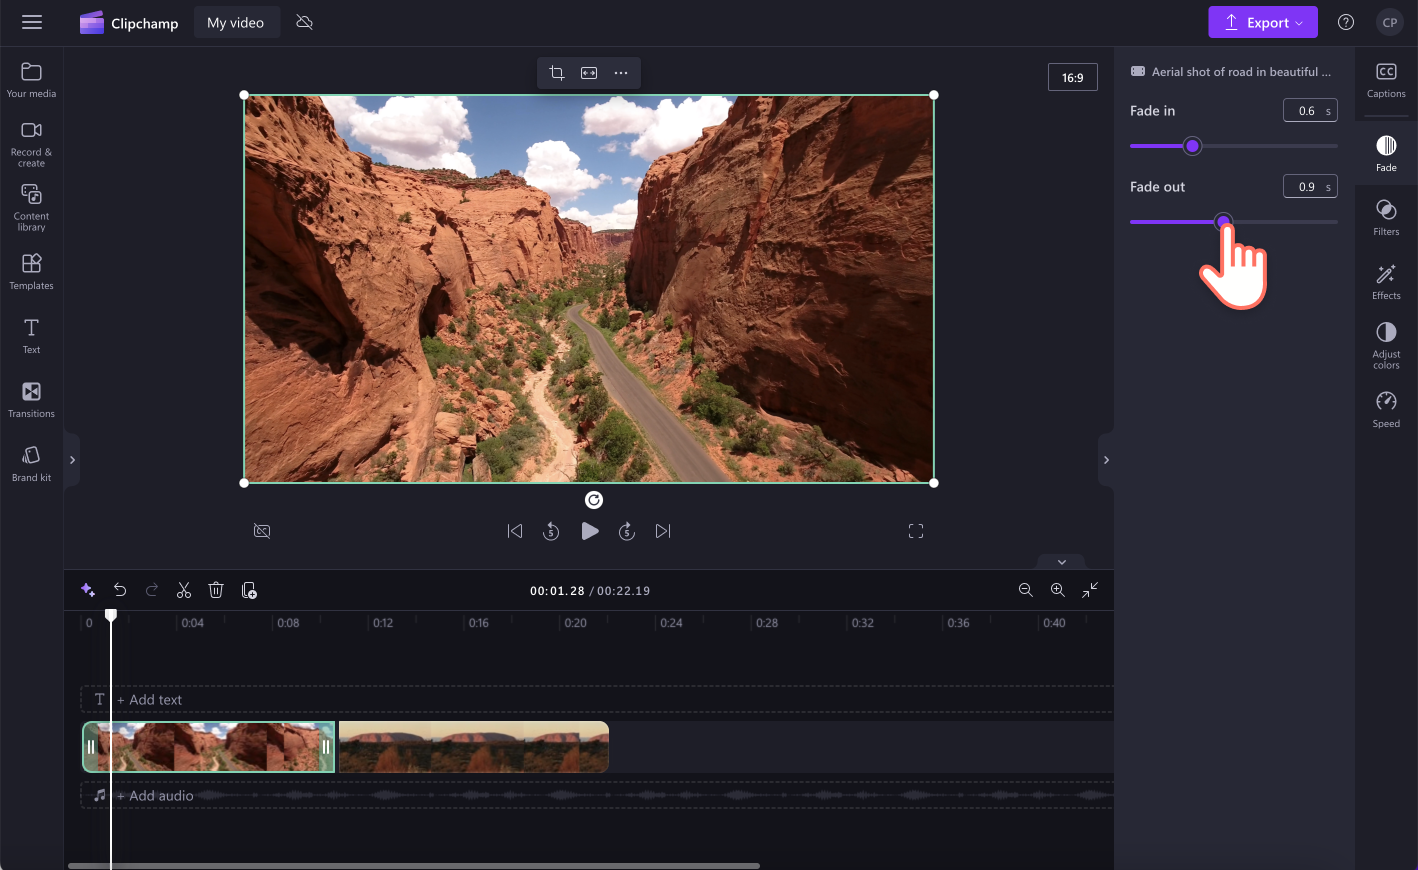
Next, click on the asset on the timeline, then click on the fade tab on the property panel.

Use the fade in and fade out sliders to add fades to your asset. Drag the slider to the right to increase a fade, or drag the slider to the left to decrease the length of the fade.
Note: Fade limits are 50% of the total duration of the item per fade in/fade out. For example, a 10 second assets can now fade 5 seconds either way. For assets shorter than 4 seconds, the max possible fade length is 2 seconds.
Inside the fade tab, the slider supports fades up to 2 seconds and the text field supports fades up to 50% of the length of the clip.
How to remove fades from a video, image, or audio
To remove a fade, click on the fade tab on the property panel, then drag the sliders back to zero. You can also change the numeric value back to zero (0). Or, click on the undo and redo buttons to remove an action from time timeline.